Eeek huge image, sorry!
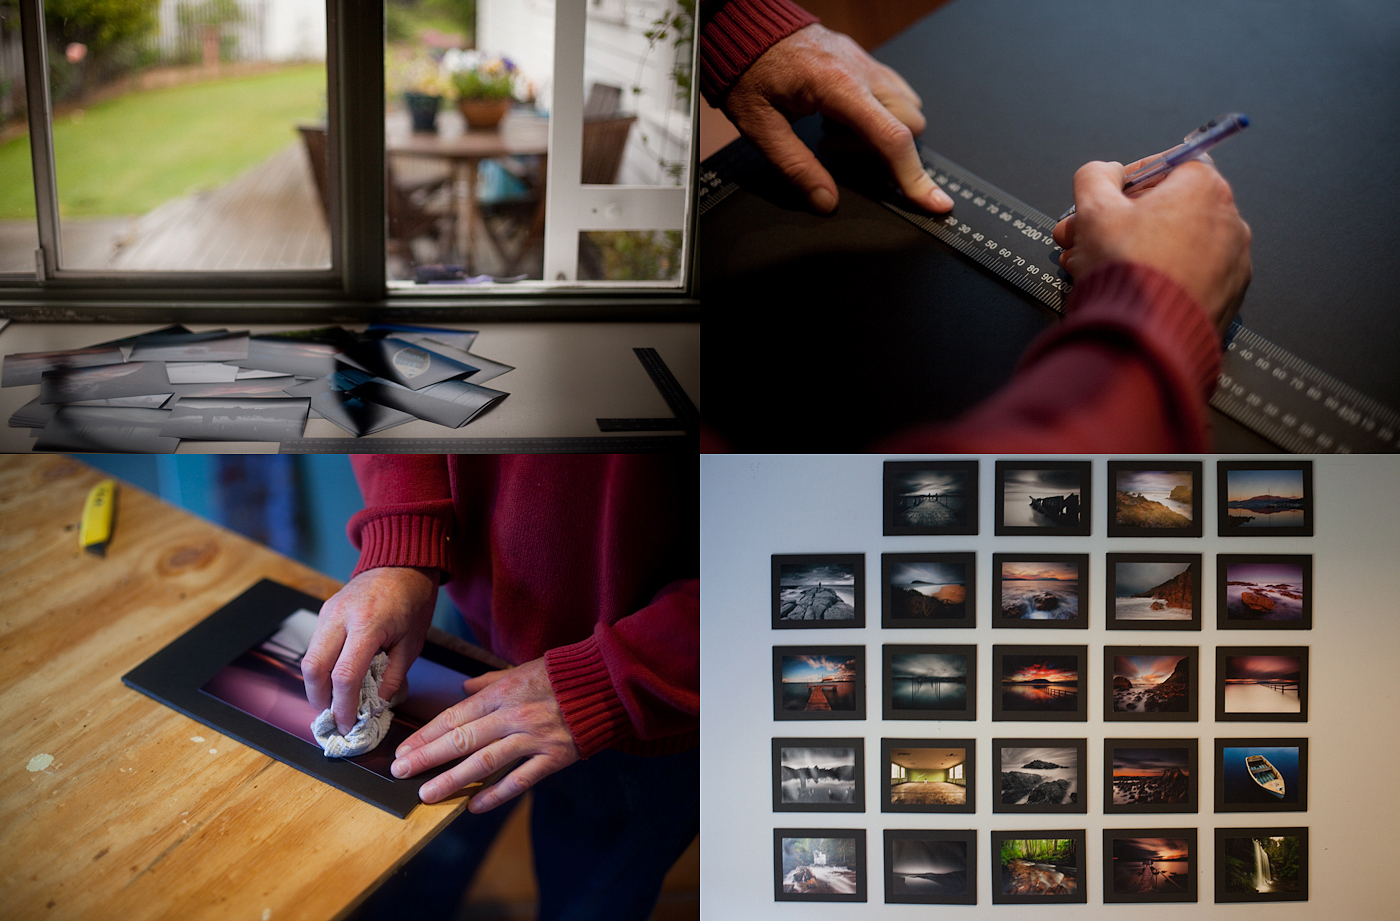
Inspired by a thread on a photography forum I frequent, I set out to mount some of my favourite shots. The process is easy and also quite cheap so it works out a nice way of presenting your photography.
A few things are needed
- Prints – 8×6″ prints from RgbDigital at $0.95 each.
- Foamcore – $14 for a 40×30″ black sheet from Artery. You can find this at your local arts and craft store and is available in both black and white colours.
- Stanley knife – This was already laying around but is available at most places including arts and craft stores, hardware stores and maybe supermarkets.
- Self adhesive spray – $10 for a can and is available at arts and craft stores and hardware stores. This is used to stick the print to the foamcore.
- Bluetac – $3.50 a packet and is used to stick the foamcore to the wall.
- Ruler – A metal ruler works well to ensure you get a consistent and straight cut.
- Something to cut onto like a kitchen chopping board.
Learn from my mistake and avoid the print from bubbling by putting the mounted print under a heavy book to smoothen it out. Also take care when placing the print onto the foamcore so you’re not stuck with fingerprints.
This wouldn’t be complete without a cheesy timelapse video with cameo appearances from my 7 year old cousin and dad.

That looks gorgeous!
Impressive final result when everything is mounted. Brillant photos too.
This is something I’ve been meaning to do for a while….thanks for the write-up, and thanks for mentioning your mistakes so we can avoid them 😉