In January 2019 I assessed the market to find what is the best drone for photographers. It was very clear that the DJI Mavic 2 Pro is the leader for photographers looking for a drone for still photography with its exceptional image quality, affordable price and IQ.
[su_box title=”Findings” radius=”1″]
- Best Overall Drone: DJI Mavic Pro 2, everything great about the Phantom 4 Pro without the bulk.
- Runner up, Best Overall: DJI Phantom 4 Pro, while starting to show its age and a replacement being imminent, still a more than capable drone.
- Best Value Option Drone: DJI Spark, this super small drone is a great entry point for people getting into drones.
- Best Budget Option Drone: Holy Stone HS110D, a super cheap way to play around with drones without breaking the bank.
- If Money was no Object: DJI Matrice 100, better get saving…!
[/su_box]
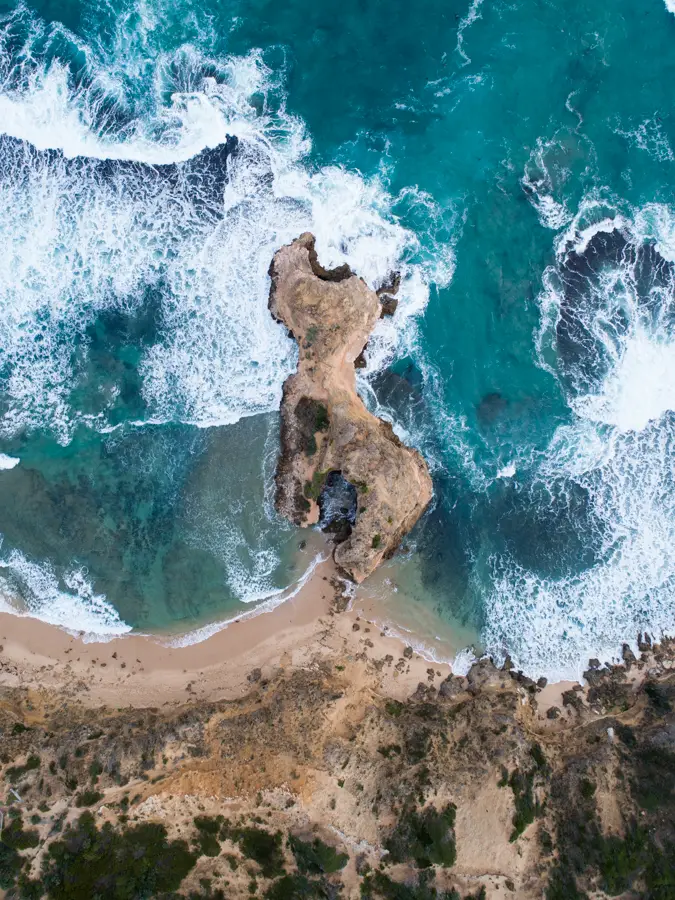
Before we look at what makes the DJI Mavic 2 Pro and alternative options, it’s important to look at why drone photography is an awesome new area of photography to explore and also what things to look out for when you’re buying a drone.
What’s my experience in drones?
 I’ve been fortunate to own a few drones over the years from:
- DJI Phantom 2 with GoPro attached – This was like driving a car without power steering in the dark with no headlights. Super fun but the image quality was terrible and the drone felt like a toy. This was largely due to the drone not having the ability to hover in the one place or avoid obstacles like today’s drones. Basically this meant that in any wind conditions you’d be fighting to keep the drone in the one position without crashing into any trees.
- DJI Phantom 4 Pro Plus – This was a huge step up compared to the P2 with the camera being a huge step up (think an entry level DSLR) and the drone now including being smart enough that anyone could fly one (scary!) with the obstacle avoidance, automatic take off and landing and camera to help with seeing where you’re flying. I loved the camera image quality of the P4P but the bulky nature of the drone made it unpractical at times when travelling interstate or on road trips.
- DJI Mavic 2 – Finally! A drone that comes with great image quality, IQ and doesn’t break the bank.
 All of this experience has given me a good understanding of what makes a good drone for photography.
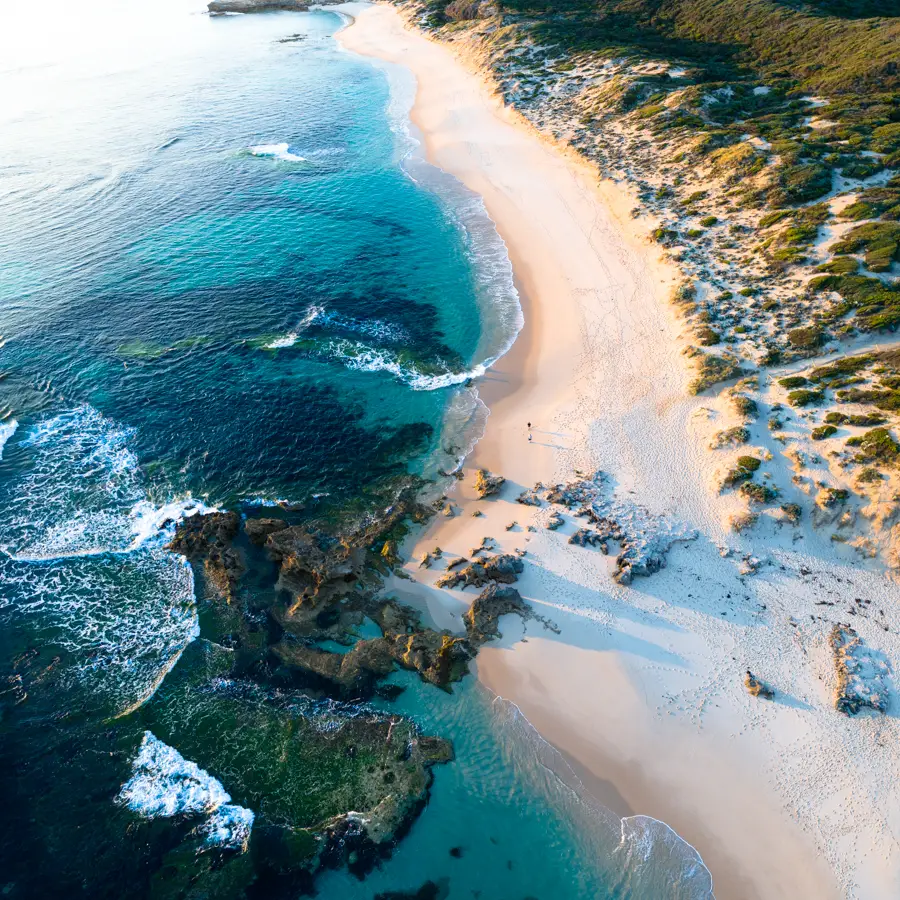
Why you should buy a drone for photography
- Mix up your photography with new angles not possible with your normal camera
- Challenge yourself artistically in a relatively new genre of photography
- Unleash your inner kid! Whilst the drones mentioned in this article definitely aren’t for kids, they still are a heck of a lot of fun to fly and made me feel like a kid again!
What you should consider when looking at drones
Budget
The sky is the limit (like what I did there?) when it comes to buying drones for still photography but assuming you’re like me and have a mortgage and family to support, unfortunately that $10,000 drone is out of reach.
Fortunately though, we’re incredibly lucky with the available range of drones under $2,000 with many options for people looking to get started all the way through to people looking to buy a drone for high-end commercial work.
Camera sensor and lens
 Things to consider when it comes to the camera on your drone:
- What is the low light performance like on the drone? As you will be photographing around sunrise/sunset, it’s key to have something that is able to capture nice noise free images in low light
- How wide is the lens? Most drones come standard with a wide angle lens and like your wide angle lens at home, some can have greater distortion than others.
DJI bought a majority stake in Hasselblad in 2017. Since then we have begun to see equipment with the Hasseblad logo stamped over it. Whether Hasselblad have had much/any involvement
Image output
The higher the mega pixel the better when it comes to drone photography. From my personal experience, I crop my images a lot more on the drone as I’m working with a fixed length lens with no zoom and it can also be difficult
 When looking for a drone for the purpose of aerial photography, it’s important to take into account the ability to capture images in RAW rather than JPG or other compressed outputs. Like photographing in RAW on your still camera, this gives you the ability to greater recover highlights or shadows as opposed to photographing in JPG or other compressed outputs.
Stability
Any decent drone will include a gimbal which basically acts as a stabilisation device for the camera. Without a gimbal, the camera can appear wobbly as you move the drone and try to record at the same time. The gimbal is more critical if you’re planning on shooting video on your drone as you will be more inclined to record while moving the drone. But it is also useful to have for flying the drone so you have a steady video stream coming through to help with navigating.
 Reliability
Early edition DJI drones like the DJI Phantom 2 were renowned for having reliability issues where they would die mid flight or fly away. DJI have innovated heavily in this area and the drones have incredible reliability with these issues only occurring for a very small minority of drones.
When researching other drones for this article, I did notice that reliability issues are still common in lesser known and mature brands. Generally these issues only affect a small minority but it’s worth noting when considering the price difference between DJI and a cheaper brand.
Battery life
When considering battery life, it’s important to take into consideration:
- Powering on and taking the drone off
- Flying the drone to altitude height
- Manoeuvring the drone into position
- Taking your photos or videos
- Returning and landing the drone
 All of the above use your precious battery life which leads me to say – the more battery life the better!
Having gone from a 20 minute to 30 minute battery life, I now feel less rushed and don’t feel like I’m constantly clock watching to see how much air time my drone has.
Physical size
Having owned both the DJI Mavic 2 and DJI Phantom 4 Pro, I can tell you that size definitely matters when it comes to owning a drone.
I’ve gone from owning the DJI Phantom 4 Pro which weighed in at 1334 grams to the Mavic 2 weighing 907 grams and folds down to a substantially smaller size. The Phantom 4 Pro was cumbersome to carry around and also attracted a lot of attention. With the Mavic 2 Pro, I’m able to simply put this in my camera bag and barely notice it’s there.
Consider asking yourself the following questions when considering what size drone would best suit your needs:
- Will I be travelling interstate/overseas and be happy to carry the drone to the airport/check it in?
- What advantage does the bigger drone provide over smaller drones available?
- Will I also be carrying my regular camera setup with me?
Ease of flying
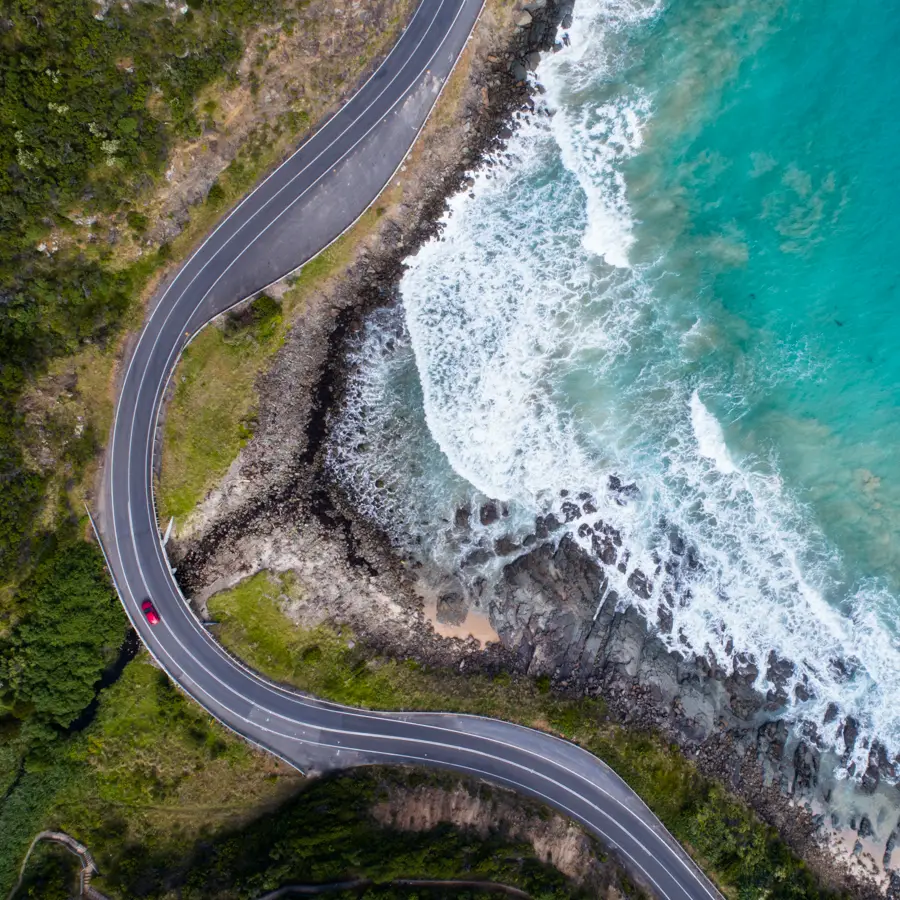
 When using a drone for aerial photography, you need something which provides stability and allows you to easily fly in open areas where conditions might be windy (I.e. above open coastline) but also features obstacle avoidance to fly in small confined areas (i.e. between trees when photographing a waterfall).
There’s a few things I’d recommend you check when looking for a drone:
- Ability to hover in one position without needing manual intervention
- Obstacle avoidance
- Stability in the wind
- Return to home functionality
Range
How far are you looking to fly the drone? Realistically you shouldn’t fly your drone a big distance away from you due to most country aerial/drone laws requiring drone operators to always maintain line of sight with the drone at all times.
Although sometimes having a drone with a good range even when you are maintains line of sight can be useful especially when flying in windy conditions where the drone may struggle to fly up wind back to you. This gives the option of being able to either a) Slowly return up wind to you and not stress that the drone may fall out of range or b) find a safe spot to land if your battery is low.
Drone Buying Guide
Best Overall Drone – DJI Mavic 2 Pro
 Announced in August 2018, the DJI Mavic 2 Pro is DJI’s current flagship drone. DJI have taken a lot of what was great about the DJI Phantom 4 Pro and put it in a more compact drone being the DJI Mavic 2 Pro.
I personally own the DJI Mavic 2 Pro and love it. Some of the key features which make this a great drone include:
- Flight time of 31 minutes (if flown at a constant 7 miles per hour (25 kph)
- Weighs 907 grams and 354 mm (diagonal)
- Omni-directional obstacle avoidance system to help with avoiding those pesky trees
- Range of 8km
- 20 megapixel 1″ sensor (vs the old 1/2.3″ sensor on the original Mavic)
- 10-bit colour mode
- Outputs files in RAW (DNG)
- Captures video in 4k up to 30 fps
- Impressive ISO performance of 100-12800
- 28mm fixed lens
- Hyperlapse mode to capture hyperlapse videos
- Hyperlight mode to assist with taking photos in the dark
- Active Track 2.0
All of the above makes the DJI Mavic 2 Pro an awesome drone for aerial photography and my recommended pick if you are looking for a drone for aerial photography.
Previous drones felt like you were capturing images with your iPhone but the Mavic 2 Pro feels like an entry level DSLR (at least). DJI have really hit the mark with the DJI Mavic 2 Pro and you cannot go wrong.
[amazon box=”B07GDC5X74″ title=”DJI Mavic 2 Pro” template=”horizontal” description_items=”3″]
Difference between the DJI Mavic 2 Pro and the DJI Mavic 2 Zoom
 The DJI Mavic 2 Pro is a superior drone for still photography when compared to the other recently released DJI’s other new drone, the DJI Mavic 2 Zoom. The Zoom is targeted towards the video market with features such as dolly zoom and the ability to optical zoom whilst the Pro is more geared towards photographers with a greater image sensor (1″ vs 1/2.3″ sensor) , better low light capabilities (100-12800 vs 100-3200) and far superior colour range (1 billion vs 16 million).
The key difference between the DJI Mavic Pro 2 and the DJI Mavic 2 Zoom are:
- Lens: Pro model has a fixed 28mm lens whilst the Zoom has a 2x optical zoom lens
- Image Resolution: The Pro has a 20 megapixel camera whilst the Zoom has a 12 megapixel sensor
- Image Sensor: The Pro comes with a 1″ sensor (similar to the Phantom 4) while the Zoom only comes with a 1/2.3″ sensor.
- ISO Range: The Pro has an ISO range of 100-12800 and the Zoom has a range of 100-3200
- Colour range: The Pro wins this hands down with a colour range of 1 billion colours vs 16 million colours
- Dolly zoom: As expected by the name, the Zoom includes a dolly zoom (great for video) whilst the Pro does not
- Price: The Pro model was launched at $1499 whilst the Zoom model was $1249. A $250 difference
My recommendation is to purchase the DJI Mavic 2 Pro if you are looking for a drone for aerial still photography. This recommendation is based off the better sensor in the DJI Mavic 2 Pro which in turn provides:
- Greater dynamic range
- Better low light performance
- Greater ability to crop your images due to the higher mega pixel
Runner Up, Best Overall Drone – DJI Phantom 4 Pro
 Having once owned the DJI Phantom 4 Pro, I can’t speak more highly enough of this drone. However with the recent release of the DJI Mavic 2 Pro, it makes recommending the Phantom 4 Pro difficult.
Some of the key features of the DJI Phantom 4 Pro include:
- Weighs 1388 grams and is 350mm (diagonal) when taken out of the box
- Flight time of 30 minutes
- Range of 7km
- 20 mega pixel 1″ sensor that outputs to RAW (DNG)
- 8-bit colour mode
- Fixed lens of 24mm
- Mechanical shutter
- Films in 4k up to 30 fps
- Active Track 1.0
[amazon box=”B01N639RIJ” title=”DJI Phantom 4 Pro” template=”horizontal” description_items=”3″]
Difference between the DJI Mavic 2 Pro and the DJI Phantom 4 Pro
 The key differences between the DJI Phantom 4 Pro and the DJI Mavic 2 Pro include:
- Flight time: Mavic 2 Pro has 2 minutes of additional flight time (32 mins vs 30 mins)
- Weight: Mavic 2 Pro is 481 grams lighter and far smaller in physical size
- Camera: Phantom 4 Pro includes a mechanical shutter where the Mavic Pro 2 only includes an electronic shutter. This is more relevant for filming to avoid the rolling shutter effect
- Colour mode: Mavic 2 Pro comes with 10-bit colour whilst the Phantom has 8-bit colours.
- Focal Length: The focal length of the Phantom 4 Pro is 24mm vs the Mavic 2 Pro’s 28mm
- Cost: At time of writing, the Mavic 2 Pro costed $1,449 and the Phantom 4 Pro was $1,499 making the Mavic 2 Pro cheaper
- Set up time – I’d argue the Mavic 2 Pro is easier to set up and travel with
- Range: Mavic 2 Pro has a range of 8km vs the Phantom’s range of 7km
- Wind resistance: Due to the size and weight of the Phantom 4 Pro, this makes it a bit more stable in the wind and lesser prone to get thrown around
- Active Track: The Mavic 2 Pro comes with Active Track 20 vs. the Phantom’s Active Track 1.0. The difference you ask? Mostly reliability and the new spotlight tracking feature where the drone will keep the subject at the centre of frame and continue to fly around it
- Hyperlapse and Hyperlight: Only the Mavic 2 Pro comes with these modes.
 It’s pretty clear based on the above that the DJI Mavic 2 Pro is the superior drone when compared to other high end drones in the market. Although the DJI Phantom 4 Pro is beginning to show its age now and a refresh isn’t far away.
I’d only recommend the DJI Phantom 4 Pro if one came up second hand for cheap. Even then I’d be nervous about buying in case it has been crashed in the past. For this reason, go with the DJI Mavic 2 Pro.
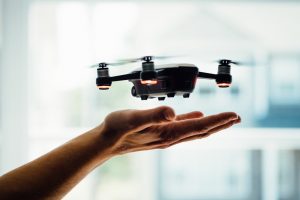
Best Value Option Drone – DJI Spark
 Released in May 2017, the DJI Spark makes a great drone for people entering the drone market and not ready to make the leap to spending a large amount of money on a drone just yet.
The DJI Spark is known for its small size so some of the short comings below (i.e. distance or camera capability) are due to limitations in the size of the drone. Some features of the DJI Spark include:
- Weighs a tiny 300 grams and 170mm diagonal
- 16 minute flight time
- 2km distance
- 12 mega pixel camera with a 1/2.3″ sensor
- ISO range of 100-1600
- Only exports in JPG and not RAW (DNG)
- Films 1080p HD video
- Small size makes it vulnerable in windy conditions compared to other drones
The sensor on the DJI Spark is on the lower side at 1/2.3″ when you consider an iPhone 7 sensor is 1/1.3″. Combine this with the low ISO range and ability to only photo in JPG, this limits the image quality which you will get from the DJI Spark.
The DJI Spark makes a great drone for people who are unsure about buying a drone and not convinced it’s for them. Personally, I’d save the money and buy the DJI Mavic 2 Pro.
[amazon box=”B075TDRS2M” title=”DJI Spark” template=”horizontal” description_items=”3″]
Best Budget Drone – Holy Stone HS110D
 The Holy Stone HS1110D is one of the lesser known brands trying to make a name for itself in the DJI dominated drone market. I’d place the Holy Stone HS110D and other drones like this in toy/hobbyist category. Largely due to their size (145 grams), flight time (10 minutes) and distance (60 m) making it not overly practical if you’re keen on getting high end shots.
A quick look at the specs of the Holy Stone HS110D:
- Weighs 145 grams and 320 mm diagonal
- 10 minute flight time
- 60m distance
- 5 mega pixel camera
- Films 720p video
- Doesn’t require FAA registration due to weight
 One thing that DJI does well with its drones is reliability. A quick skim of the reviews of the Holy Stone HS110D and it was quite clear that this drone was susceptible to reliability issues when in the sky.
Like most things in life, you get what you pay for and I’d recommend skipping this one unless you want to pick up a cheap drone for your kids.
[amazon box=”B078WKT1HL” title=”Holy Stone HS110D” template=”horizontal” description_items=”3″]
Comparison
I’ve created a quick comparison of the drones reviewed in this article to help show the difference between them.
[amazon table=”12476″]
Upcoming Releases
With it being almost 2 and a half years since the DJI Phantom 4 Pro was released, we can only speculate that a replacement isn’t too far away.
Rumours suggest that the new DJI Phantom 5 could come with the following:
- Flight time: Longer 45 minute flight time which would considerably raise the bar compared to current drones
- Gimbal: Improved gimbal to include 360 degree view
- Lens: Interchangeable lenses so you can change from an ultra wide lens to a zoom lens depending on what you are photographing
- Improved distance – Ability to reach a flight range of 8-10 km
- Enhanced obstacle avoidance – Introducing artificial intelligence systems to provide an even better obstacle avoidance system
Obviously the above is all rumour at this point but it will be interesting to see what DJI do with the Phantom considering how great the Mavic 2 Pro now is. Exciting times ahead!
End
Thanks for reading this comparison article on current drones in the market place for still photography.
If you have any suggestions or questions be sure to use the contact section to reach out and I’ll do my best to help.
– Alex