I came across the magic cloth technique a few years ago when researching graduated neutral density filters but never actually got around to trying it. Recently a friend linked me to the stunning work that Tony Brackley-Prower had achieved by using this technique and was itching to try. The technique is a DIY neutral density filter that costs you nothing to try.
What are Neutral Density Filters?
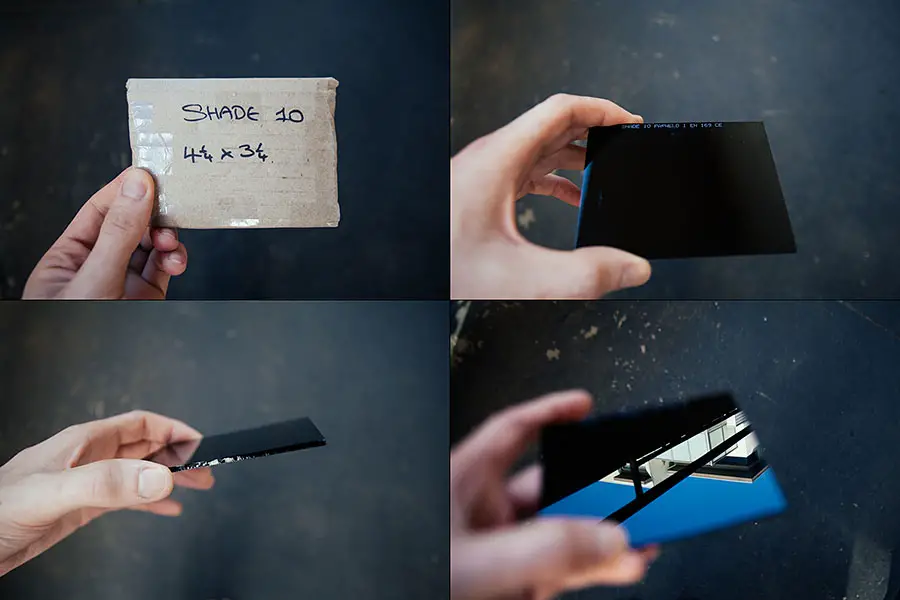
Most photographers (myself included) use neutral density filters when shooting seascapes. These filters normally come in a rectangle size with black/dark at the top and clear at the bottom. Photographers use these filters when there is different levels of brightness in a scene. This is common when photographing seascapes on sunset where the sky can appear slightly brighter than the surrounding foreground. If photographed without filters this can result in the sky being over exposed as the camera attempts to compensate the darker foreground. We use neutral density filters to avoid this problem by placing the darker part of the filter at the top of the frame to capture a more even and natural exposure. Most neutral density filters are expensive with a Cokin set and a Lee kit . I was curious to how the magic cloth technique would compare to these more expensive neutral density filters.
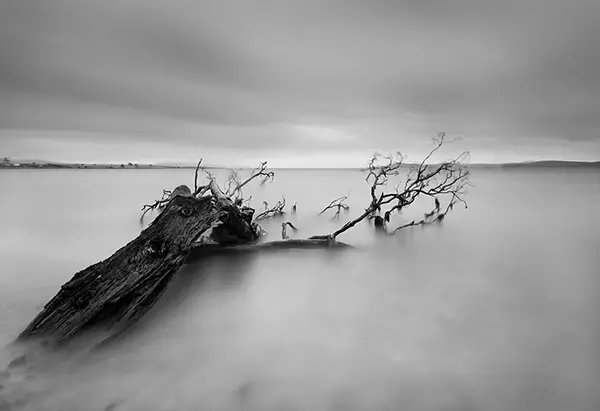
Fast forward to December this year when I was visiting family and friends in my home town of Hobart, I gave the technique a try at Park Beach with some long exposures.


Magic Cloth Technique
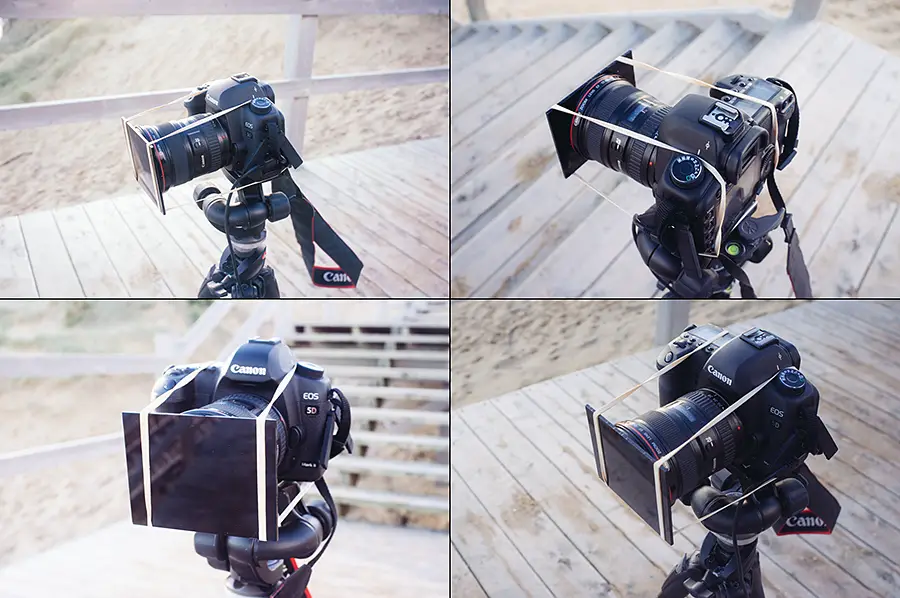
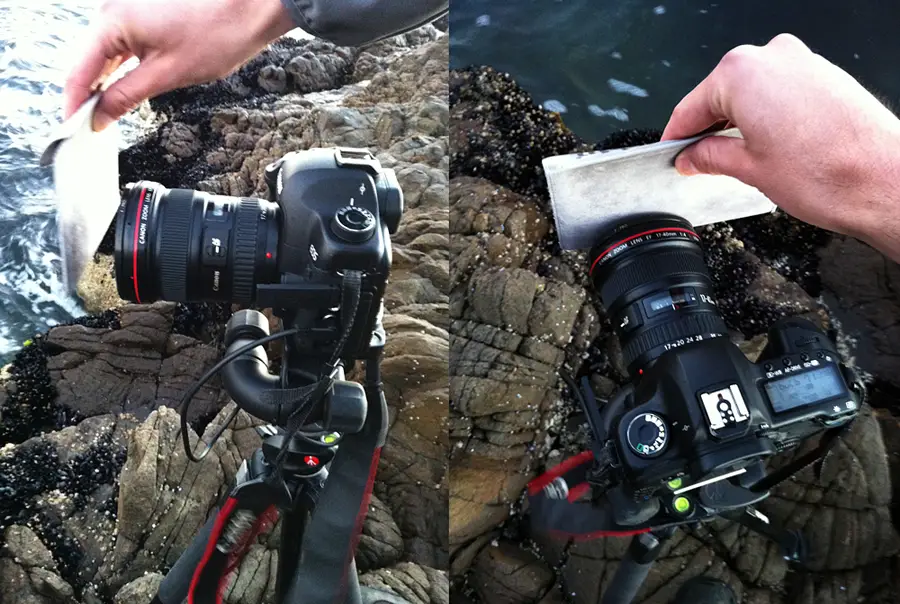
The technique is appealing as it’s so simple and costs nothing. No surprises that the technique is based on using a cloth or even as Tony suggests, you can also use a sock, wallet, or cap. Really the possibilities are endless but the most important thing is finding an object which you can easily hold over the front over the camera to cover a certain part of the image. Once you’ve found a suitable object to use for the magic cloth technique, you’re now ready. The technique is best used for long exposures as this gives you greater control and flexibility over the image.
It is suggested to meter the image in your camera around 2 stops over exposed when using the technique to get the best possible exposure. Begin by starting the exposure and covering the lens with the object. Over time, gradually move the object up (towards the sky or the top of the frame). The slower you raise the cloth results in a darker grad. In simple terms this means your sky will receive less exposure and be considerably darker. If instead you raise the magic cloth faster, this will result in a less darker grad and brighter sky.
And really that’s all there is to the magic cloth technique. Experiment with the technique and you will slowly get a feel for how it works and how it might be beneficial for certain scenes. Now that I’ve tried the technique with seascapes I’d love to try with photographing waterfalls up close to avoid sea spray going all over my lens and to capture greater detail of the surrounding foliage areas.
You might also be interested in my waterfall photography guide. A thorough guide that covers waterfall photography, the ideal weather, equipment you’ll need, visual examples of how shutter speed works and other bits.
If you’re new to long exposures, my guide on daytime long exposures might also be of interest.
Hopefully this was helpful! 🙂