Posted on 18 Comments

Guide to Daytime Long Exposures

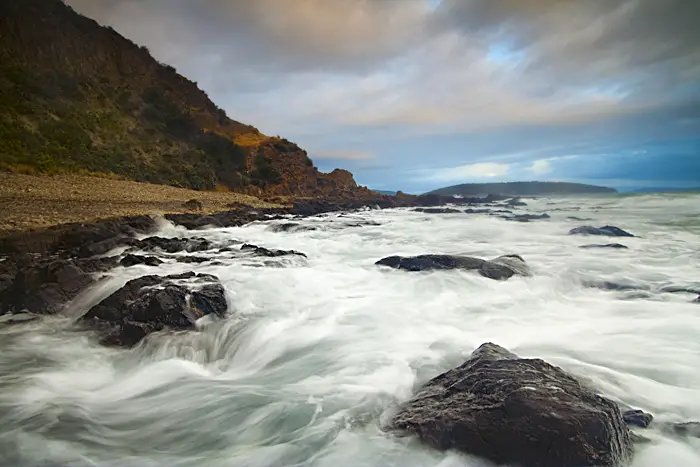
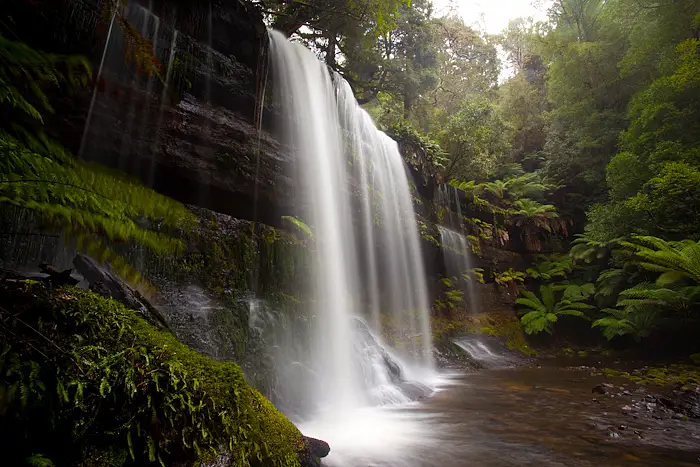
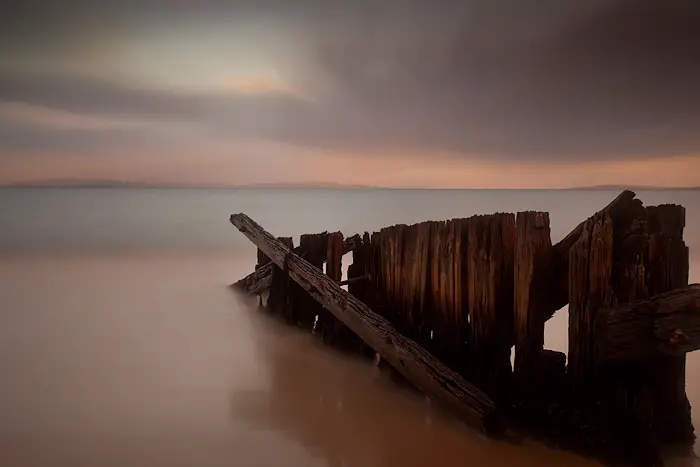
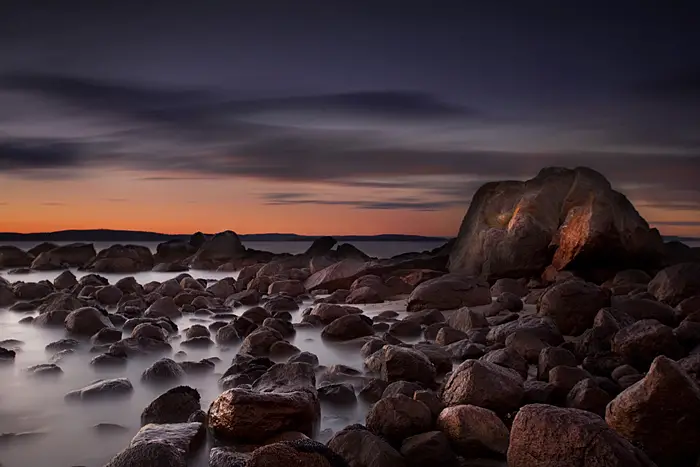
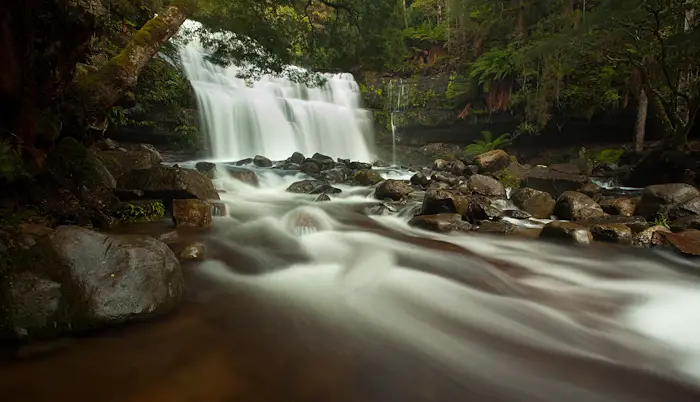
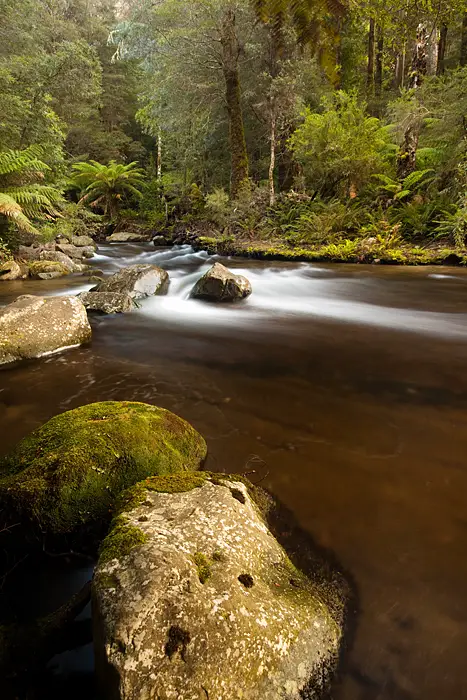
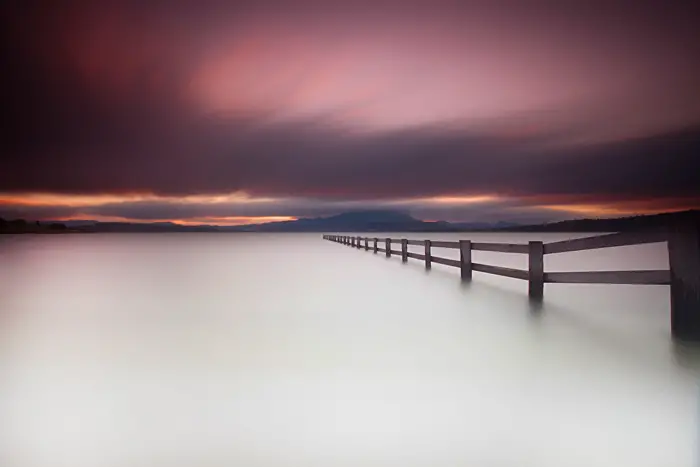
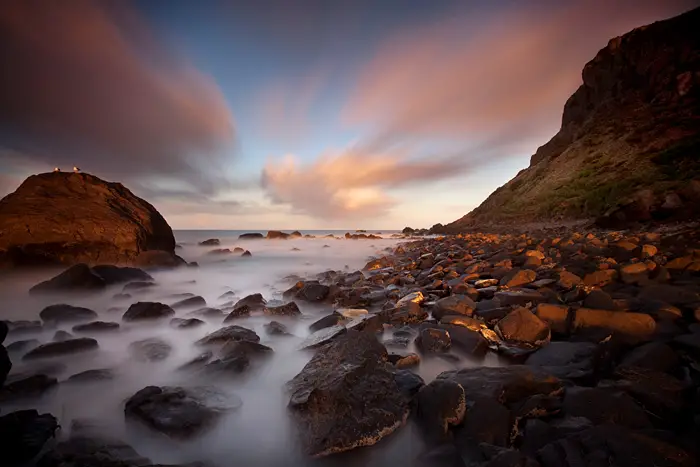
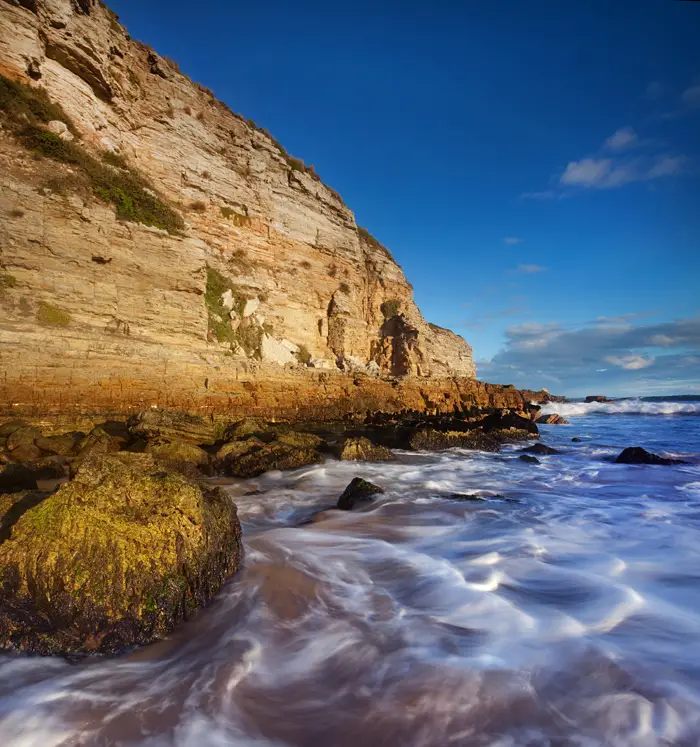
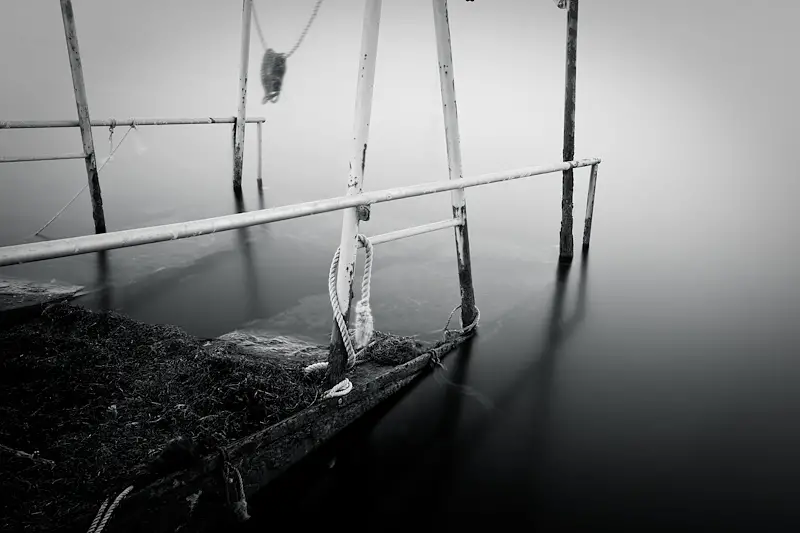
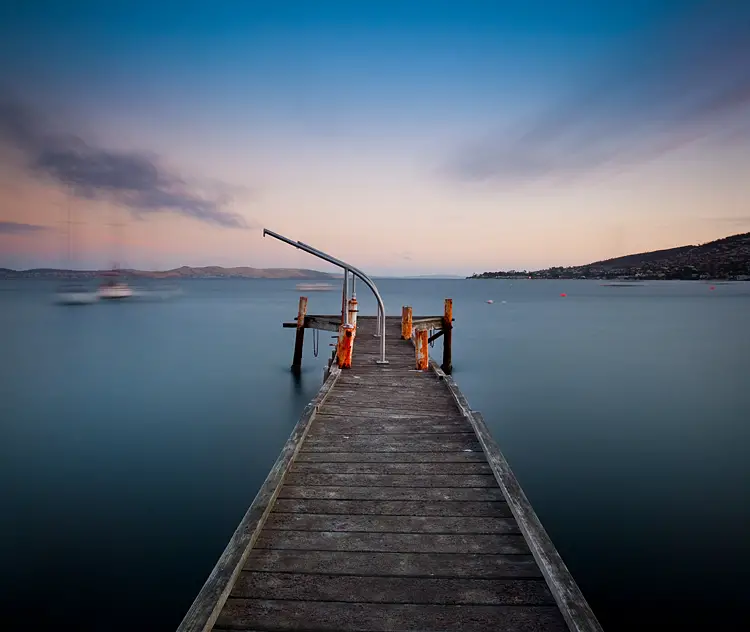
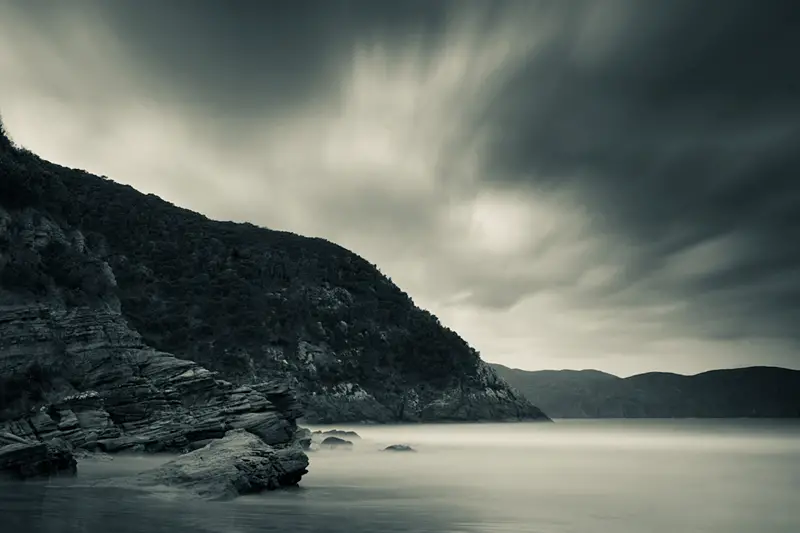
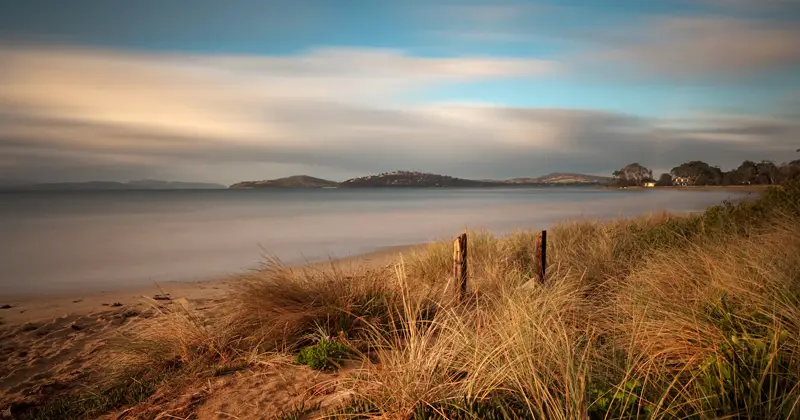
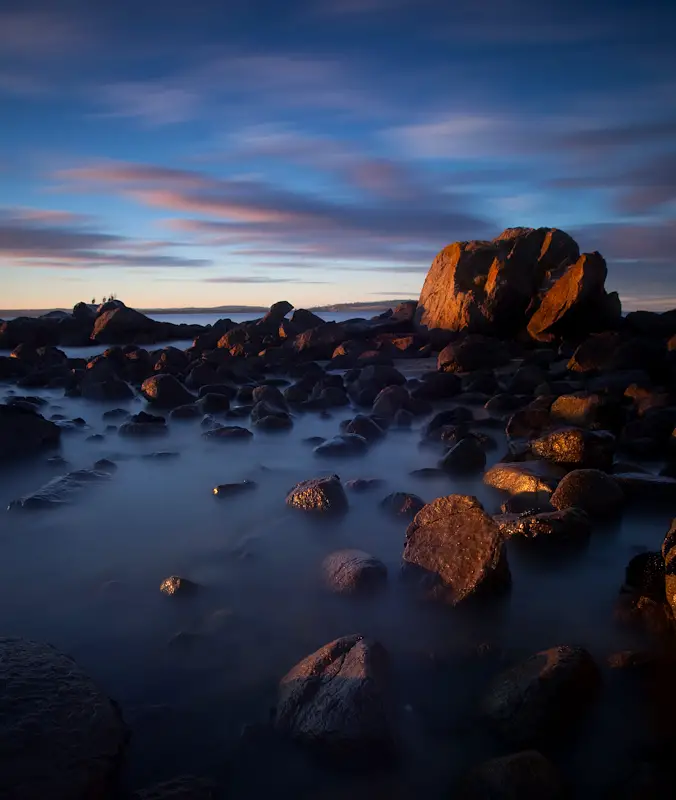
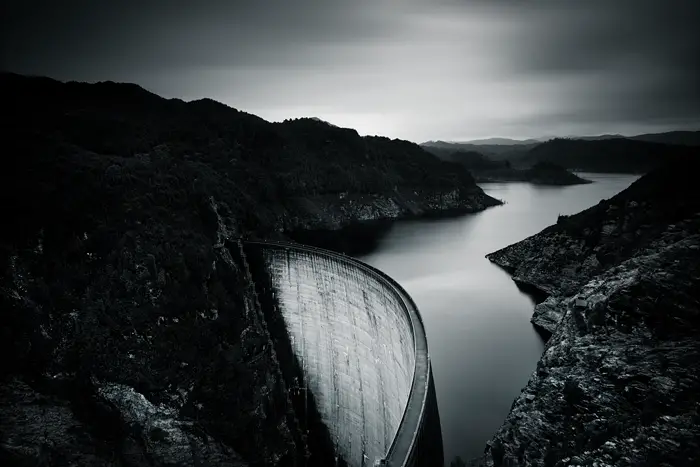
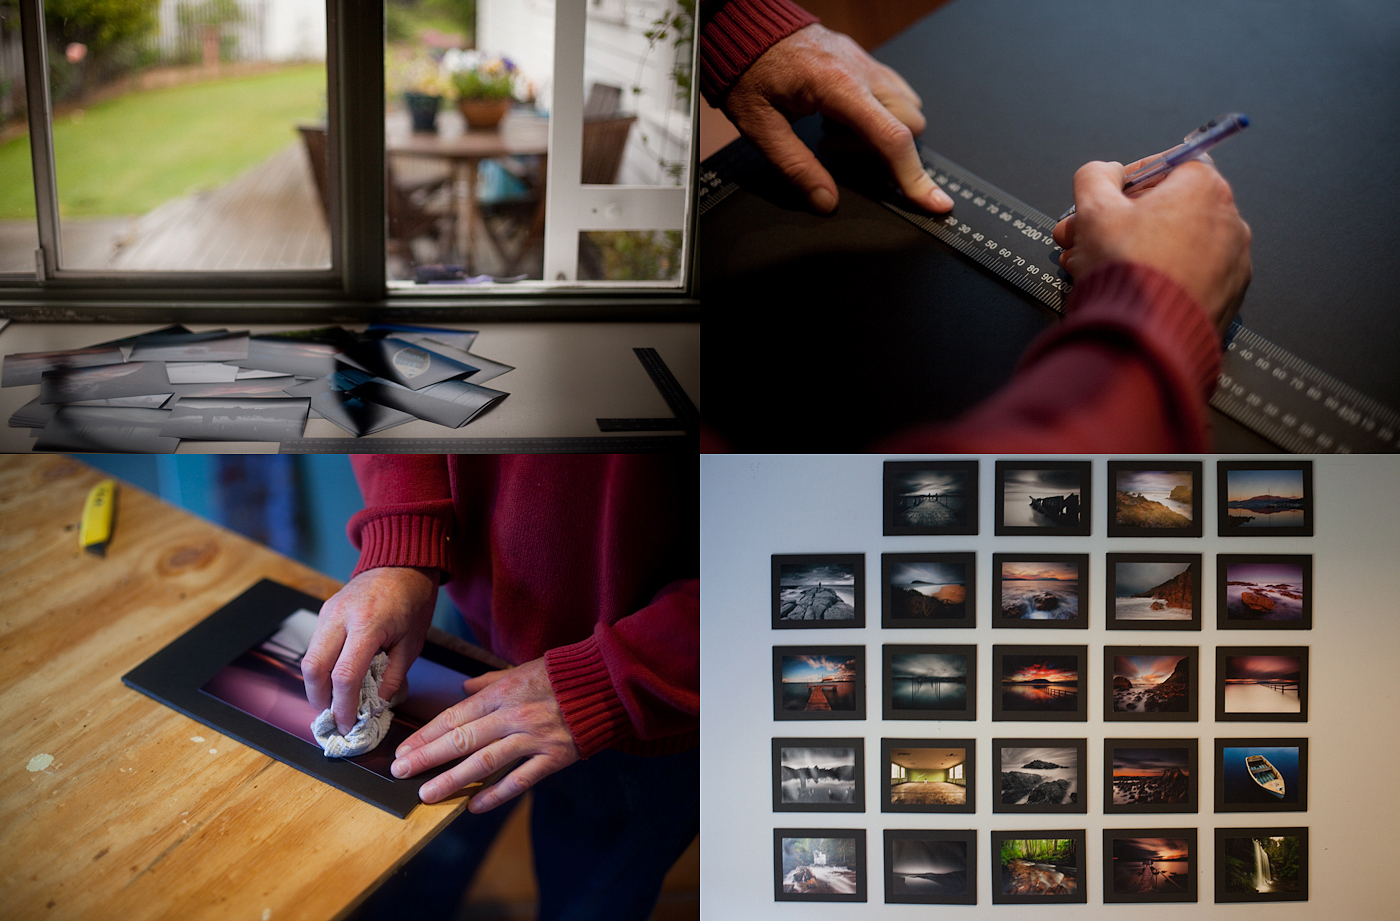
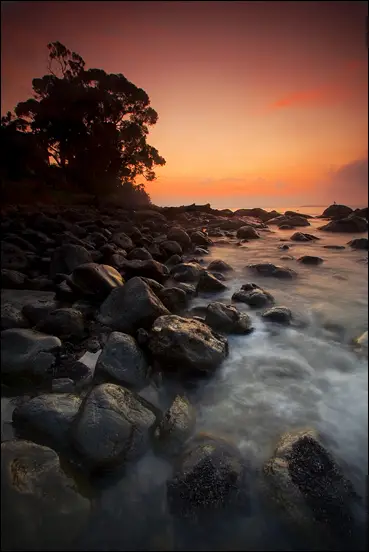
A small buying guide and photography tips to assist you in making the right purchases to photograph daytime long exposures. Using strong neutral density filters will allow you to shoot 1-5 minute exposures during the day depending on the conditions. If you’re bored with photography, neutral density filters are a great way to rejuvenate your hobby and get passionate again.

Camera with graduated neutral density filters
My day time long exposure setup consisting of a Canon 5D Mark II, Canon 17-40, B+W 110 and a Cokin Z-Pro Neutral Graduated FIlters

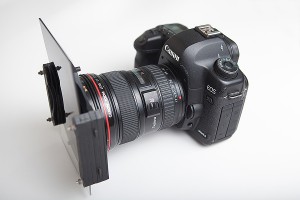
It can be rewarding but also sometimes challenging as you’re forced to look at a scene from the perspective of how a long exposure will transform it. This guide should help guide you on what equipment you will need if you want to shoot daylight long exposure photography and a few photography tips on how to calculate the long exposure shutter speed.

Continue reading Guide to Daytime Long Exposures

Posted on 2 Comments

2009

It’s fair to say 2009 was the year of the long exposures for me. I’ve had a lot of fun with the Canon 5D Mark II and B+W 110 filter over the year and looking back am surprised how many photographs I actually took.

I hope 2009 was a good year for your photography!

Posted on 3 Comments

Mounting your Photography

Untitled-1Eeek huge image, sorry!

Inspired by a thread on a photography forum I frequent, I set out to mount some of my favourite shots. The process is easy and also quite cheap so it works out a nice way of presenting your photography.

A few things are needed

  • Prints – 8×6″ prints from RgbDigital at $0.95 each.
  • Foamcore – $14 for a 40×30″ black sheet from Artery. You can find this at your local arts and craft store and is available in both black and white colours.
  • Stanley knife – This was already laying around but is available at most places including arts and craft stores, hardware stores and maybe supermarkets.
  • Self adhesive spray – $10 for a can and is available at arts and craft stores and hardware stores. This is used to stick the print to the foamcore.
  • Bluetac – $3.50 a packet and is used to stick the foamcore to the wall.
  • Ruler – A metal ruler works well to ensure you get a consistent and straight cut.
  • Something to cut onto like a kitchen chopping board.

Learn from my mistake and avoid the print from bubbling by putting the mounted print under a heavy book to smoothen it out. Also take care when placing the print onto the foamcore so you’re not stuck with fingerprints.

This wouldn’t be complete without a cheesy timelapse video with cameo appearances from my 7 year old cousin and dad.

Posted on 5 Comments

Photography SEO Tips

I’m by no means an expert on SEO (Search Engine Optimisation) but I want to share some little things that I’ve incorporated which has helped boost my traffic and get my photography out there.

Continue reading Photography SEO Tips

Posted on 8 Comments

Tasmanian Photography Locations

I’m often asked by photographers on where is best to photograph in Tasmania. This is a small list of photographic locations that I’d recommend checking out while in Tasmania. I’m aware that there is many locations missing from this list but that’s because I’m yet to photograph them so will update the list accordingly. Also most of these locations should suit most people as they’re quite accessible and usually only a small walk. There’s also much to do off the beaten track in Tasmania which I will hopefully get to one day.  If you have any questions be sure to drop an email and I’d be happy to help.

Continue reading Tasmanian Photography Locations