All year I’ve felt like I haven’t taken as many photographs as I’d like. Looking back now maybe it wasn’t as quiet as I first thought. Here are a selection of images from 2010.
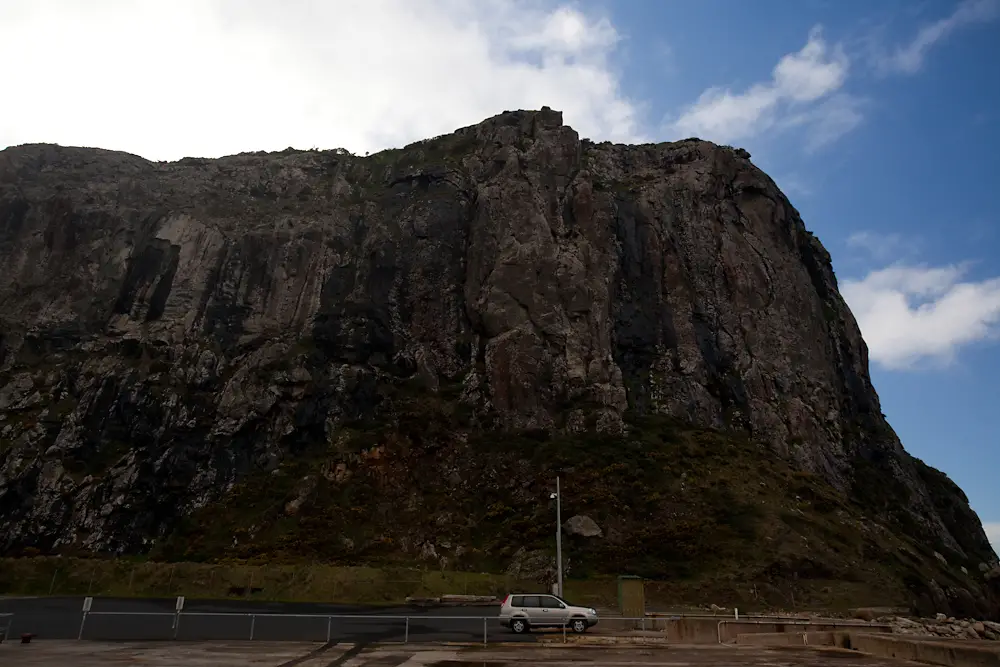
The year started off with a trip up Mt. Wellington with Carl Ashley.

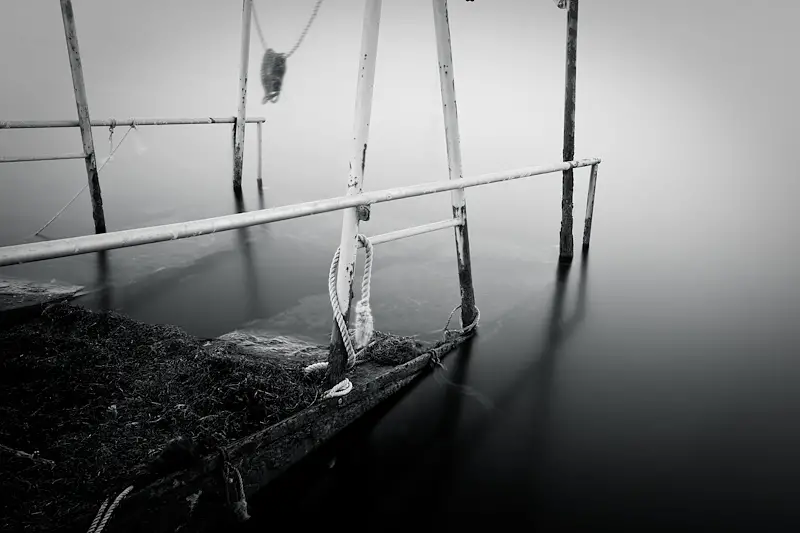
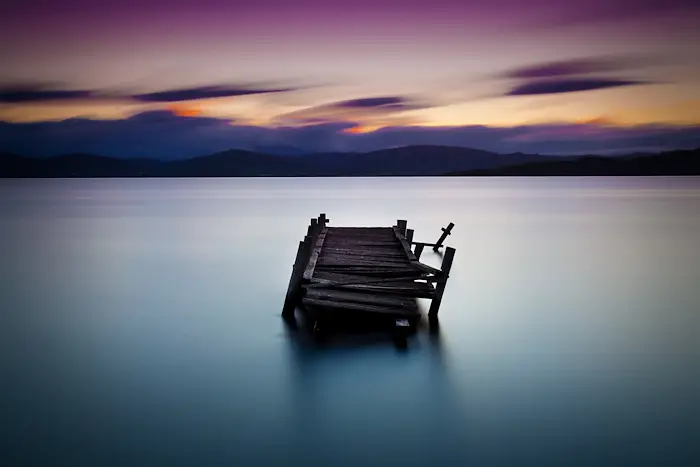
 I planned to revisit an old jetty that I had shot in 2009 however it had unfortunately been pulled down.
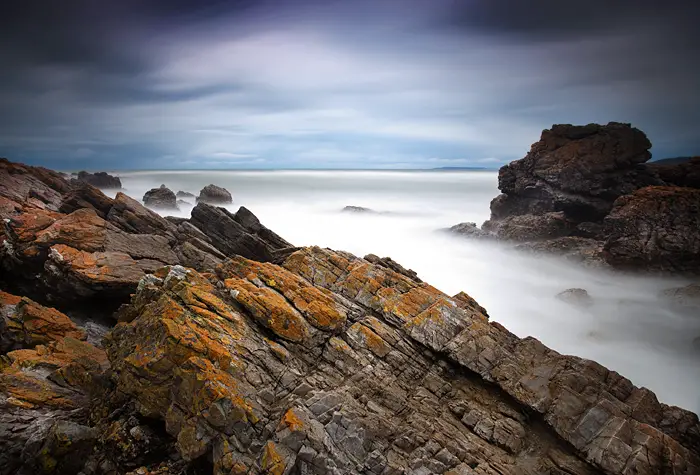
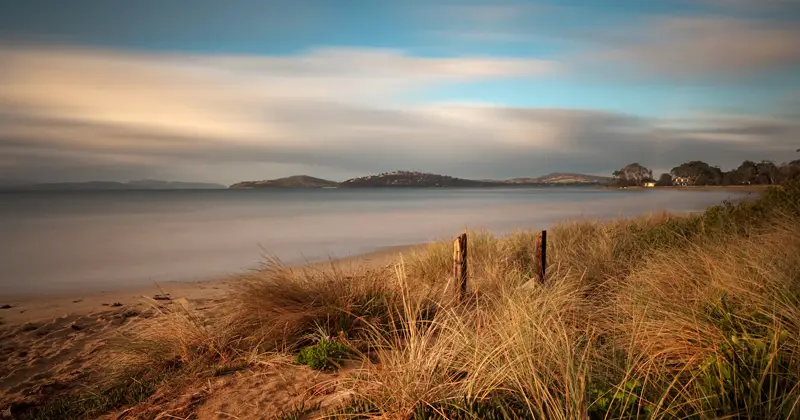
 Desperate for new seascape locations, I began exploring Kingston for photographs.

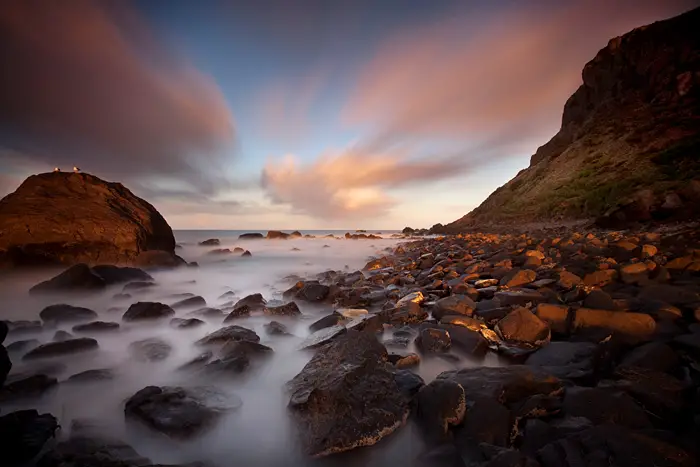
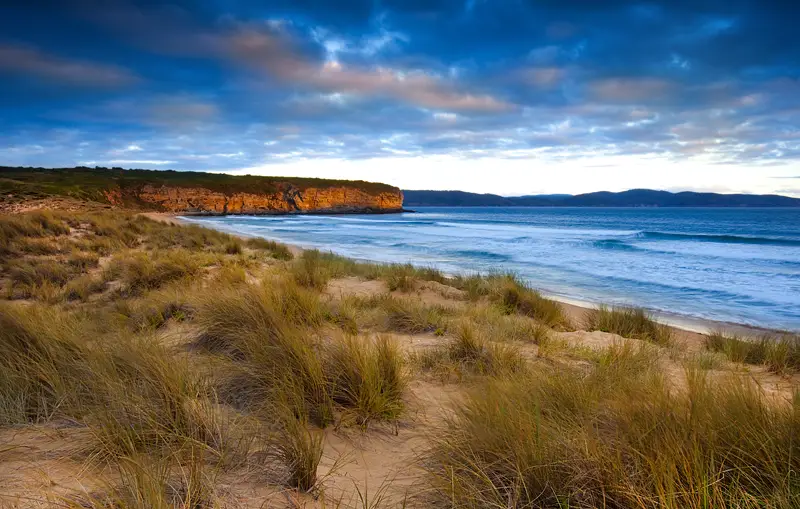
 But it was soon back to my favourite location, Clifton Beach even if without my tripod.
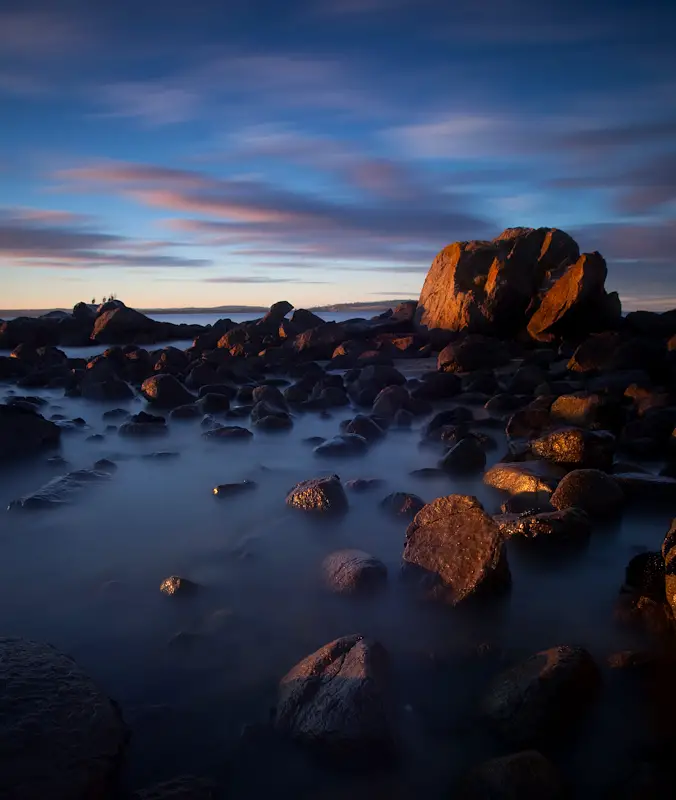
 Walking along Howrah Beach, I noticed the water coming off these rocks nicely and had to stop for a photo.
 My obsession with long exposure photography grew during 2010. This is one from Tranmere, Tasmania
 Busy with uni, my camera spent a lot of time in the cupboard over winter. On my way home from uni I noticed this scene so made a quick dash home to grab the camera.

 With the deciduous beech coming into season mid year. I was keen to get up to the Tarn Shelf to take a photo of this beautiful scene.
  Constantly looking for new locations to take photos of, I tried Blackman’s Bay for a change.
 With amazing clouds rolling in one afternoon, I made the decision to skip class in the hope of the clouds putting on a nice sunset. I was lucky even if I did get drenched.
 Not long after, I made my way to Park Beach for sunset photos.
 I love winter and its fog. This is captured underneath the Tasman Bridge on a chilly early morning.
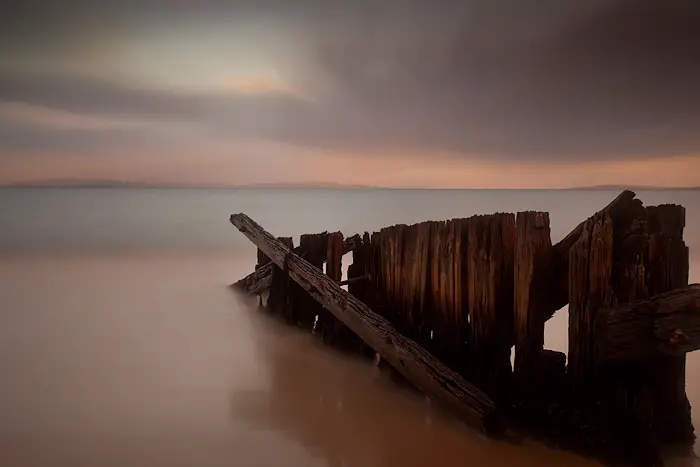
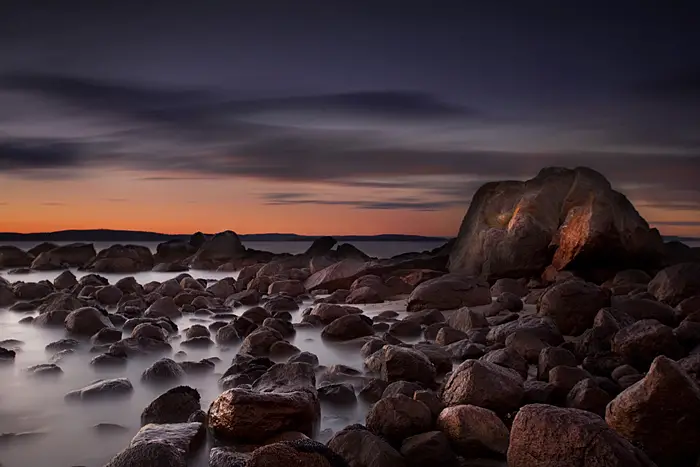
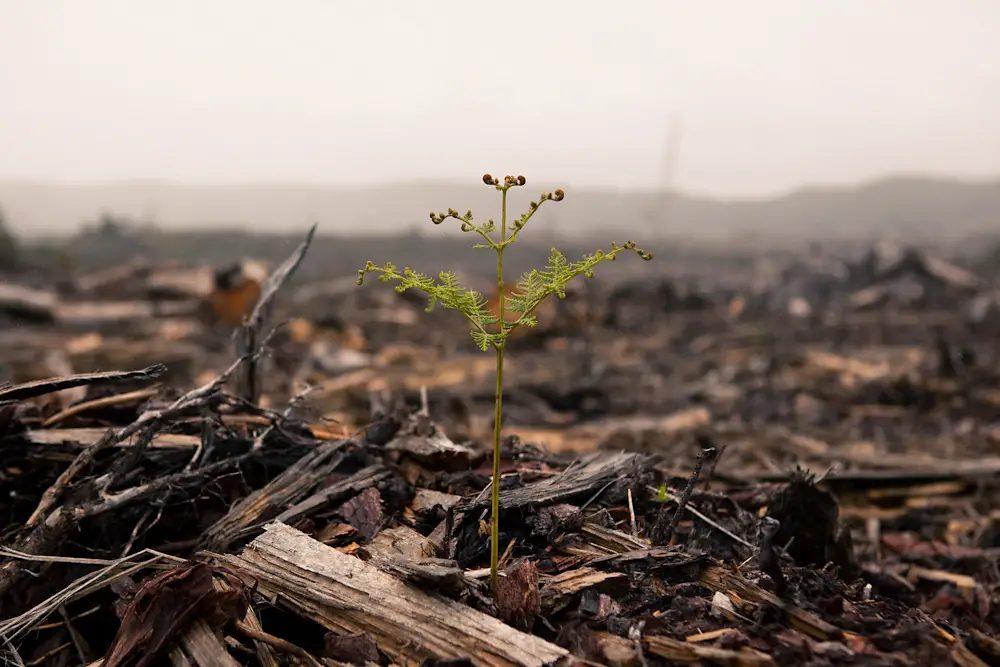
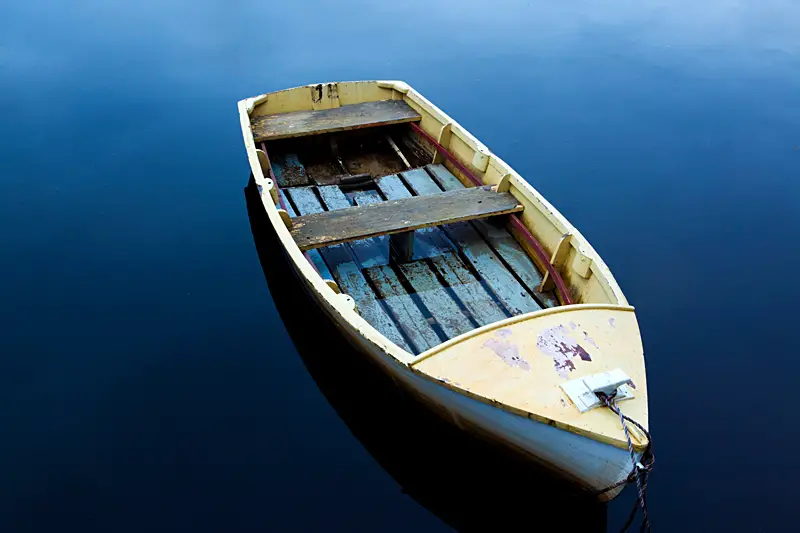
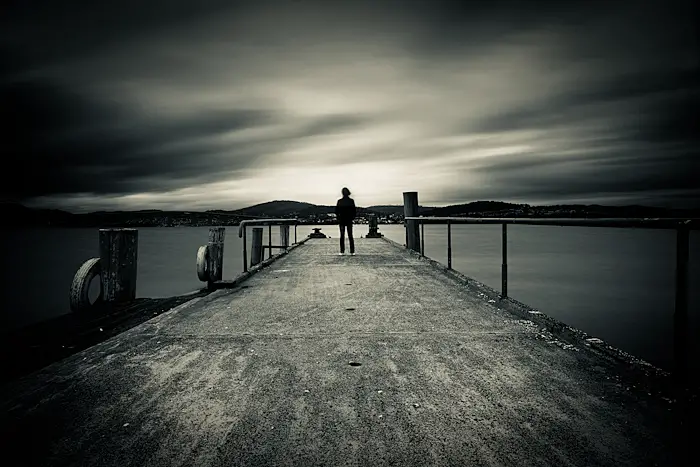
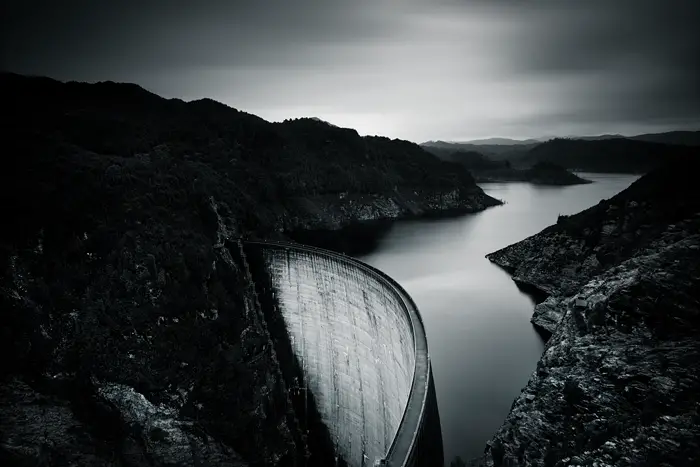
 Probably my favourite find and photo of the year.
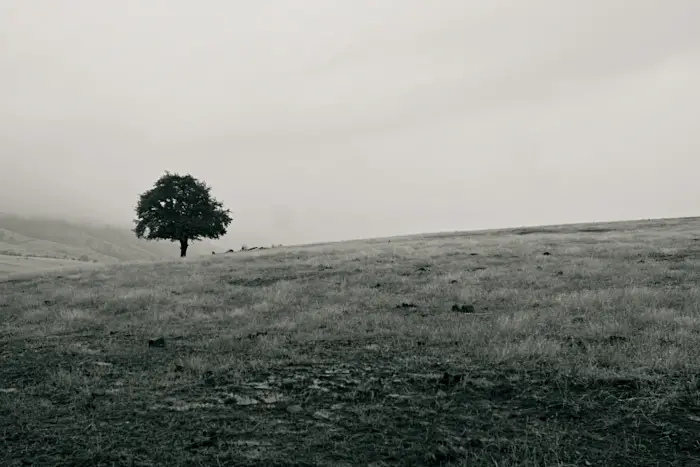
 Constantly looking for new locations to take photos of, I made my way to O’Possum Bay but left a little disappointed.

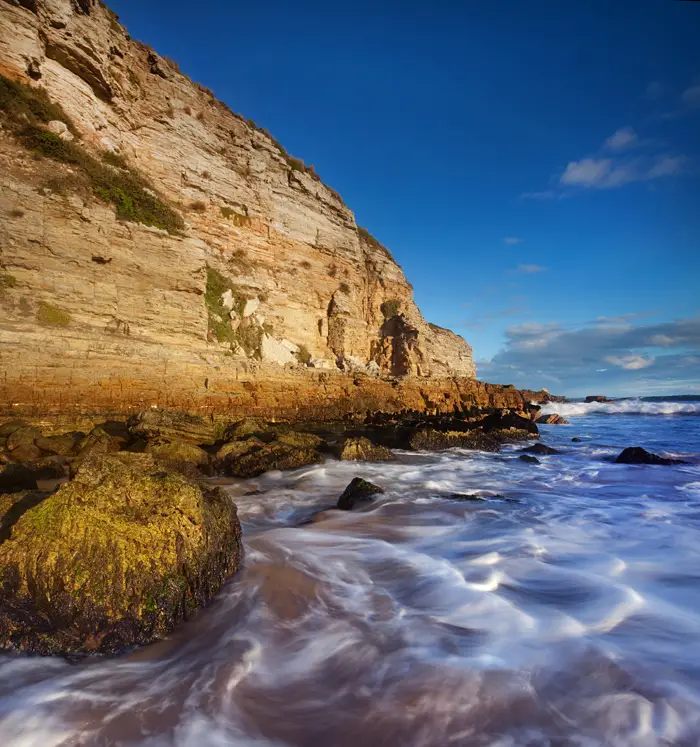
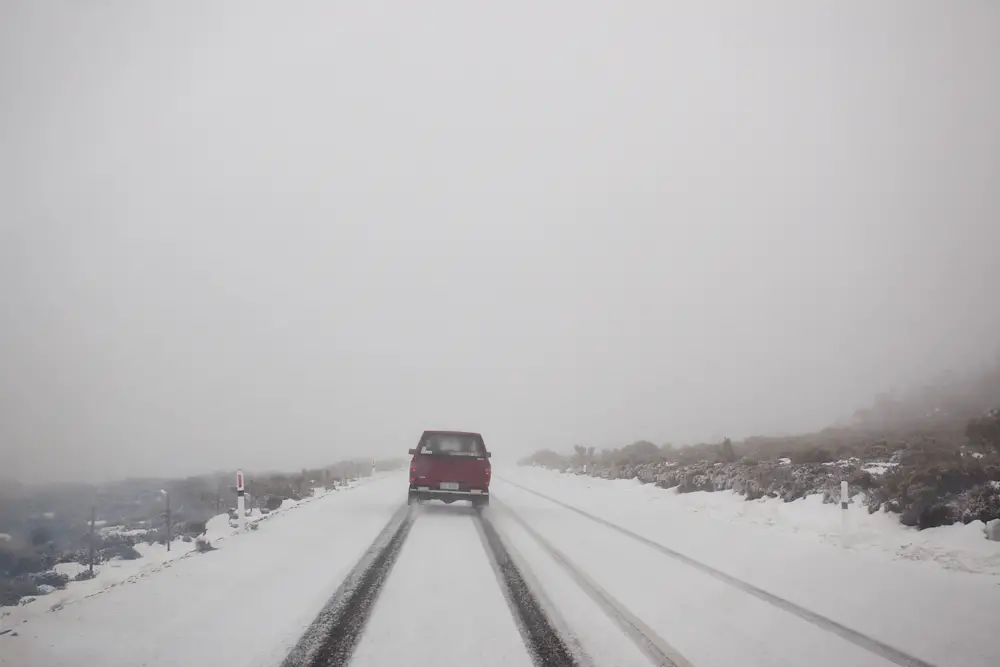
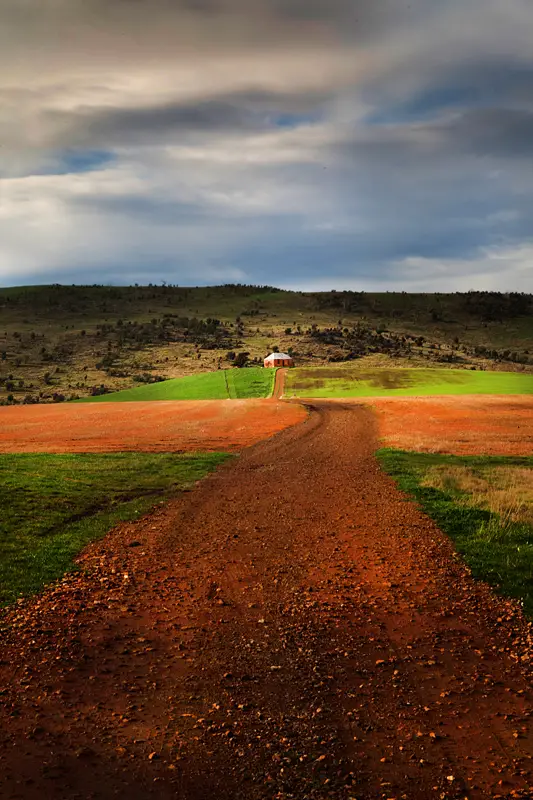
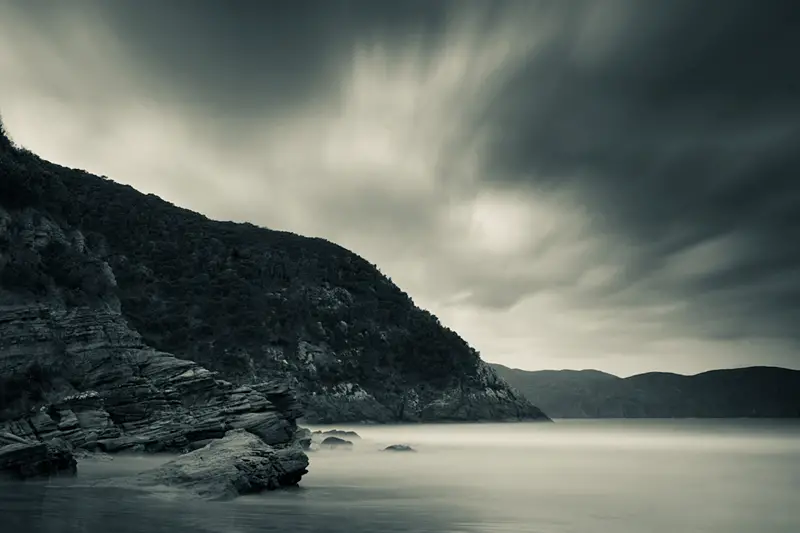
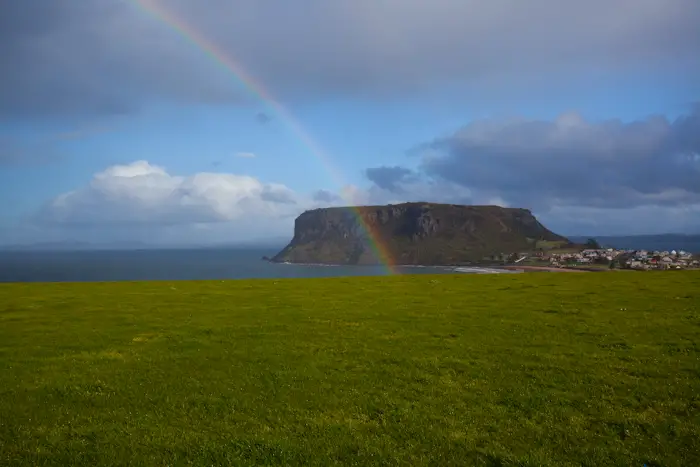
Next on the list is a drive to Remarkable Caves which was amazing and wild.

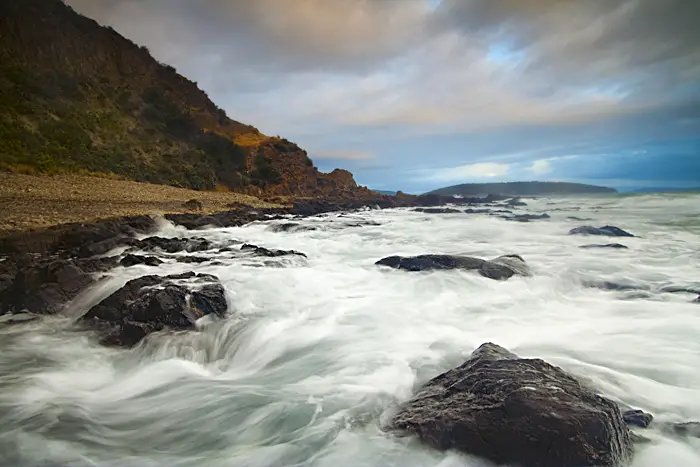
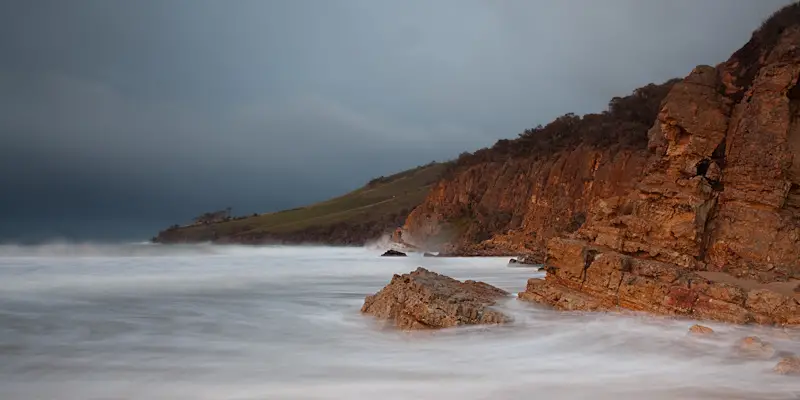
 With large swells in Hobart, this meant otherwise quiet locations had swell for a change.
 My obsession with long exposures continued.
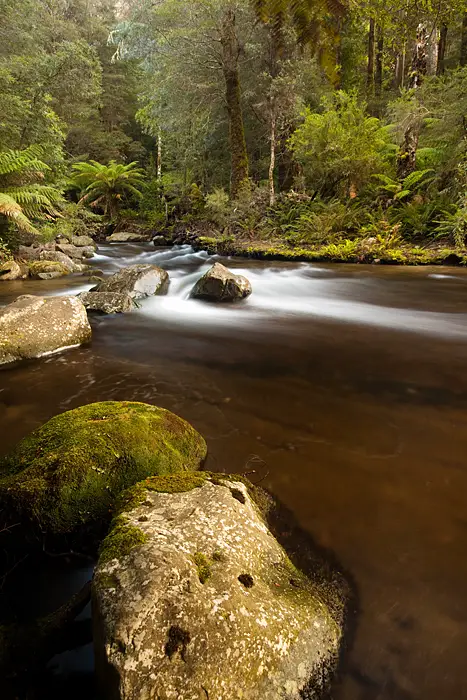
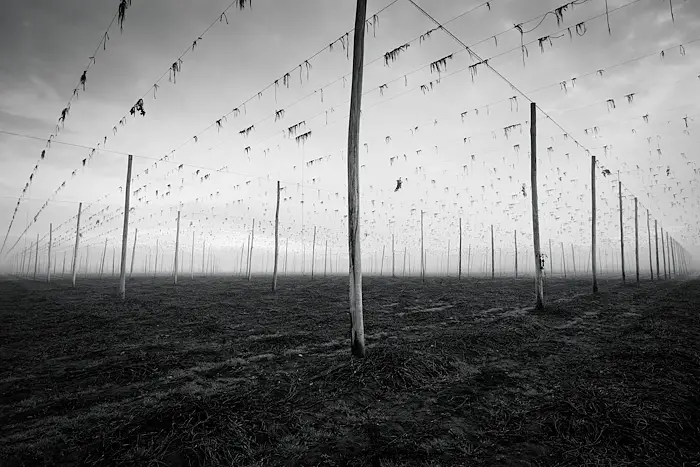
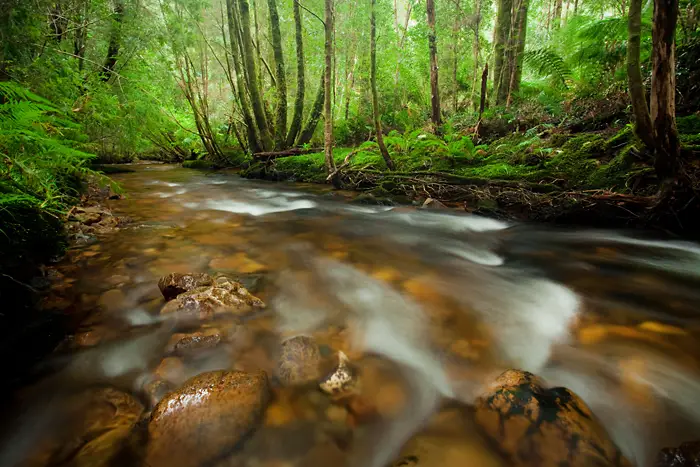
 Always looking for new locations, I came across this lovely stream on a drive.
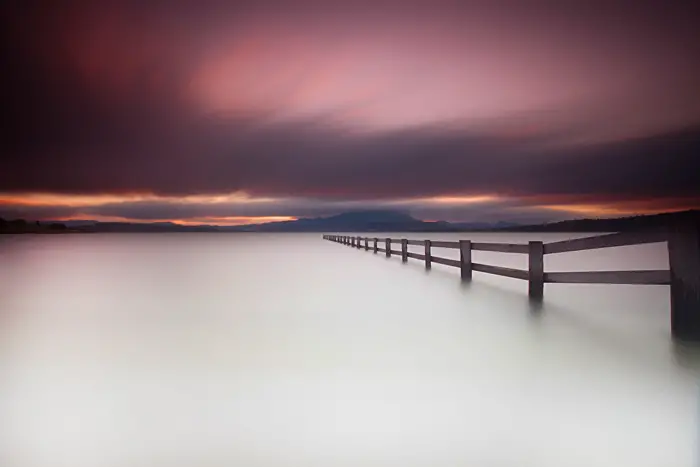
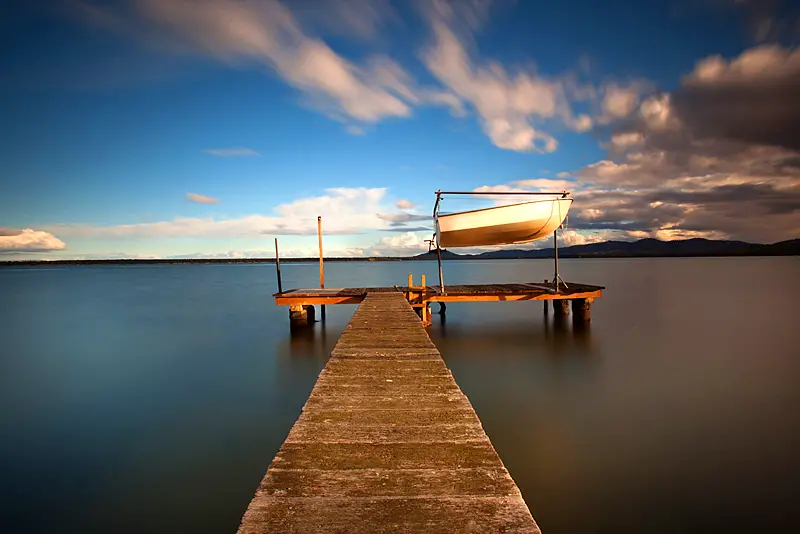
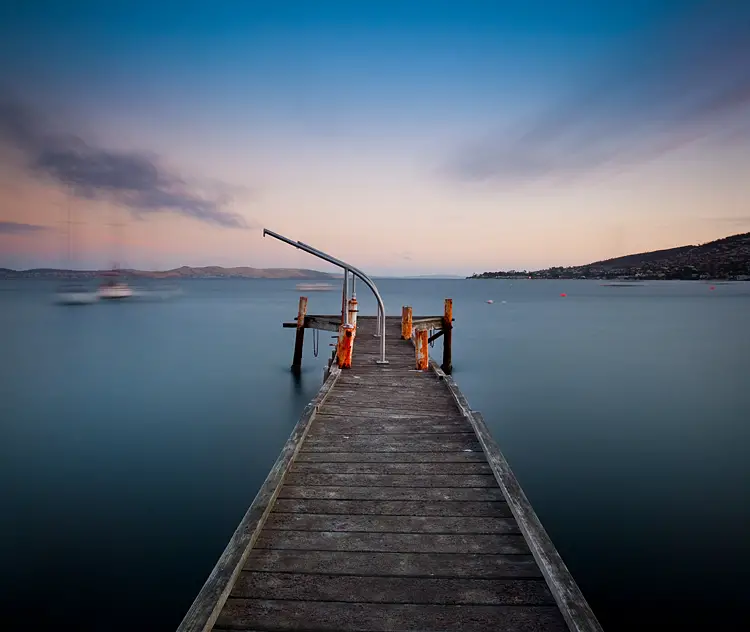
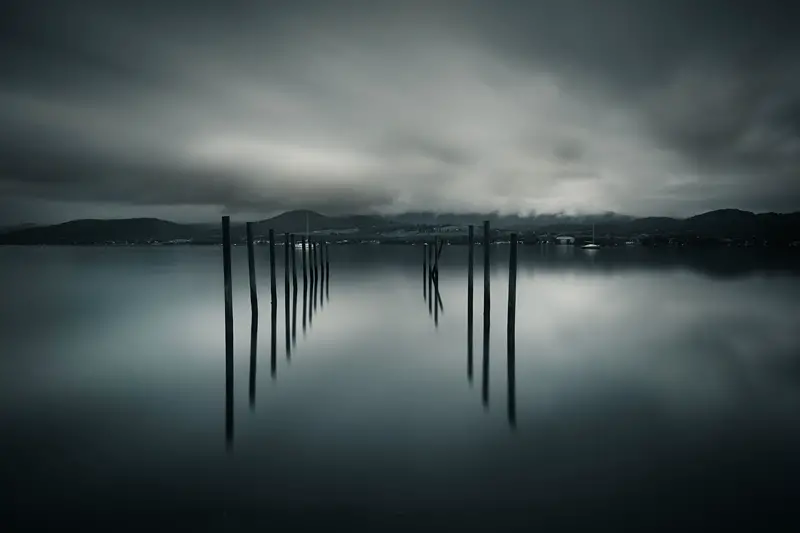
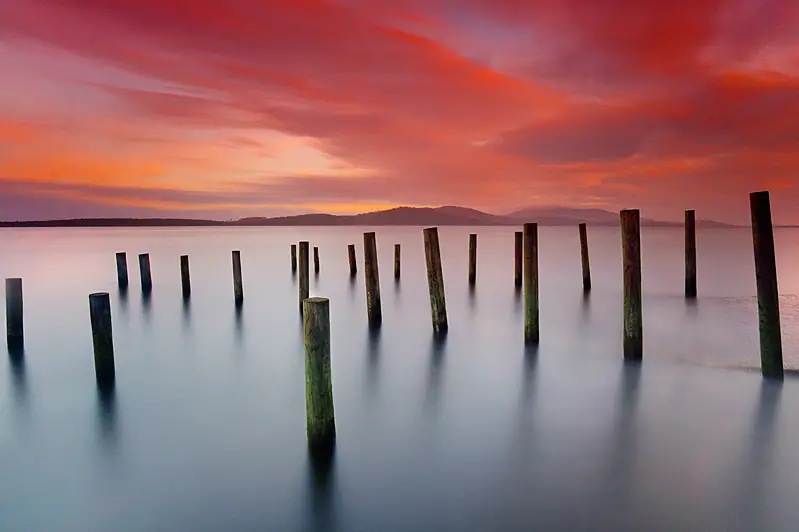
 More playing around with long exposures. Even looking at this photo now I’m still unsure about it. The moving jetty creates an interesting effect but whether it works is another question.
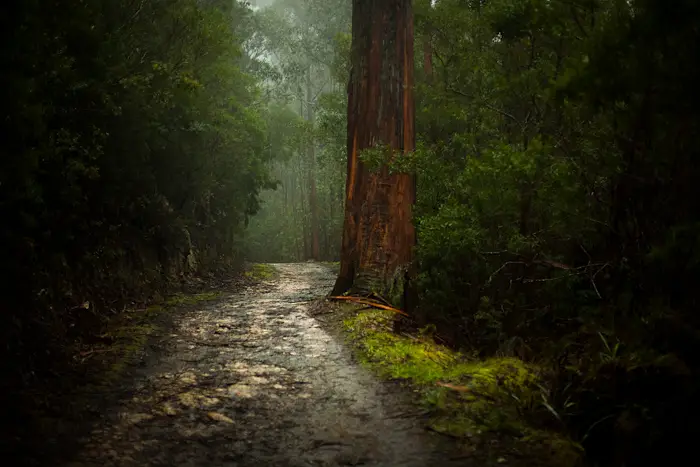
 With heavy rain forecasted, I made my way up to the North West Bay River for some shots.
 It was then off to Melbourne for some jumping on beds, catching up with friends and eating tasty food.

 But before I could go to Melbourne. I had to shave my exam growth. Personally, I think the half half look could have worked but my Mum disagreed.
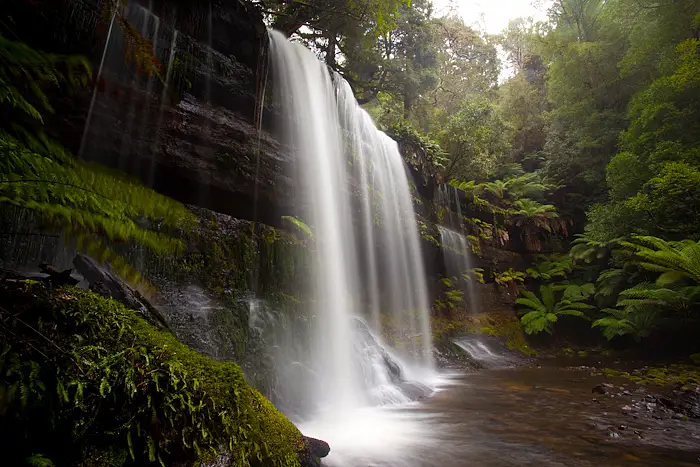
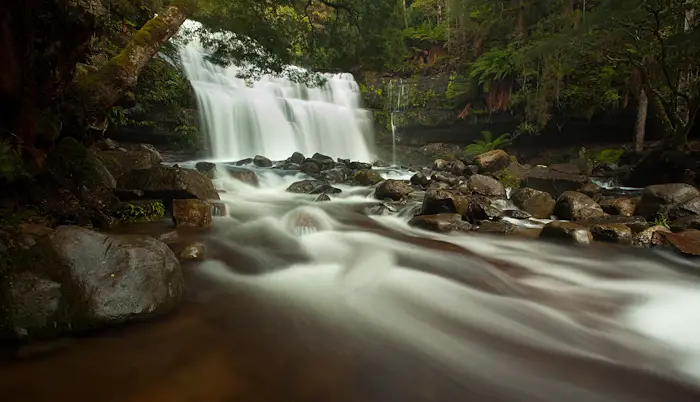
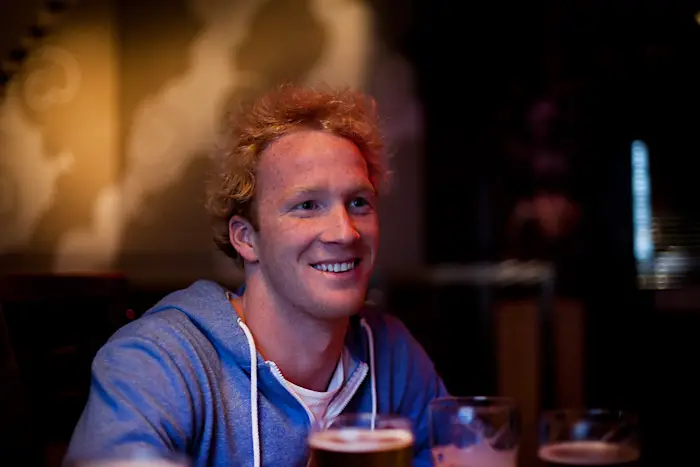
 Finally I got around to meeting up with Mitch Pearson-Goff and taking some photos with him. This was from a trip to Snug Falls.
 Visiting my favourite part of Tasmania, The Gardens I was greeted with terrible weather. I still managed to get a couple of shots in.


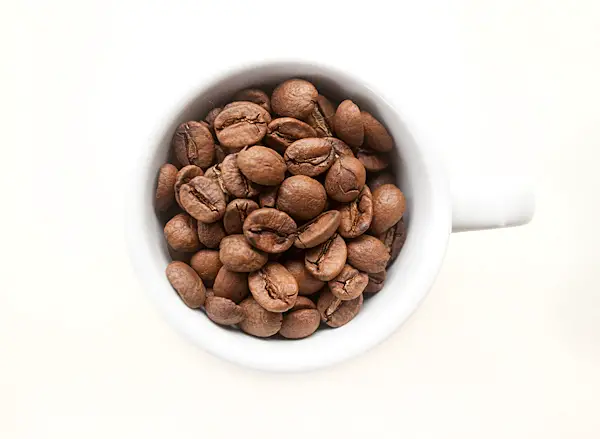
 Having bought some Alienbee lights, it was time to use them by dropping tea bags into my lovely bodum cup.
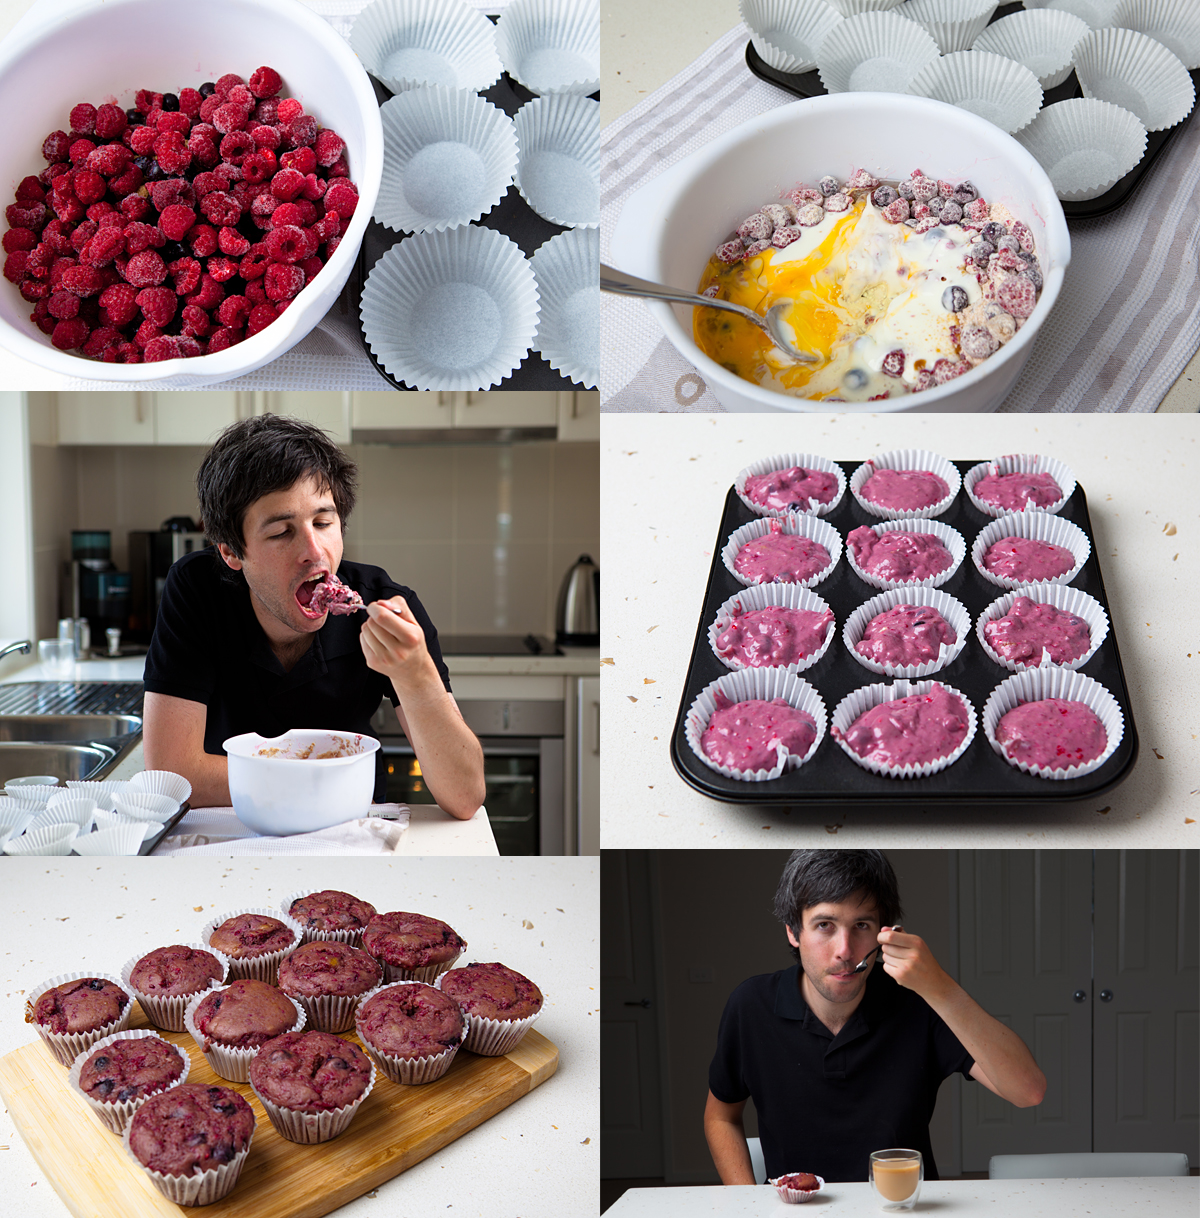
 Still wanting to play with my new lights more, I decided to bake some muffins. They look vile but were tasty and didn’t last long.
My cat decided to look cute for Christmas day.
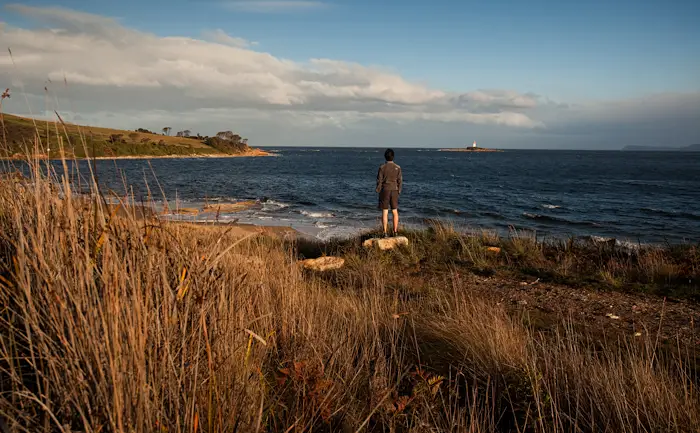
 Last shot to finish up the year. A self portrait from South Arm, Tasmania.

Hope you all had a great 2010 and thanks for your continual support 🙂