The Photographer’s Ephemeris is a fantastic tool that makes planning photographic expeditions a total cinch. No more wasted trips or missed shots due to unsatisfactory lighting or the pesky sun popping up over the horizon in the ‘wrong’ place. I rely on it quite a bit as part of my photography workflow and wanted to share a bit about the app, why its a useful tool to have and how to use it.
What is the photographer’s ephemeris?
The ephemeris? It’s connected to the thigh bone, surely?
Actually, no. An ephemeris is a chart or collection of data used to help locate the position of “celestial objects”. As far as photographers are concerned, this means the sun (or moon, if you’re of a long-exposing, nocturnal persuasion). In practice then, what The Ephemeris does is let you figure out where the sun or moon will be, at any given hour, on any given date. Don’t worry, it’s quite the mouthful that has stumped many photographers as it’s popped up into conversation with us all having a stab on the pronunciation. Just for the record, I go with ‘ef-eh-meris’ myself!
While the name and description might make it sound more like an obscure, archaic document that’s spent the last 300 years locked in a dusty university library somewhere, The Photographer’s Ephemeris actually comes in the form of both smartphone app and web-based desktop program. It takes complex astronomical data and visually displays this by means of Google Maps, making it easy to use – even for us halfwit camera-monkey like me. Here I walk you through how and why you should use it, so you don’t need to go bothering the professor for an explanation.
Who needs it?
You, more than likely. Or, at least, any photographer who cares about quality of light. Given that the word photography literally means ‘writing with light’, that’s pretty much any photographer who wants to take good pictures. That is you, right?
Obviously this will be especially of use to landscape photographers. For example, a successful portrait primarily depends upon the distinctive countenance and charisma of the person portrayed, and the photographer’s ability to create a rapport with that person; meanwhile street photographers are flaneurs, lurking in the urban environment waiting for humanity to collide in quirky and ephemeral juxtapositions that are in some way revealing of our society and its values. These are one-off, fleeting moments that are difficult – if not impossible – to recreate.
As a landscape photographer, however, your subject matter may be considerably less unique.
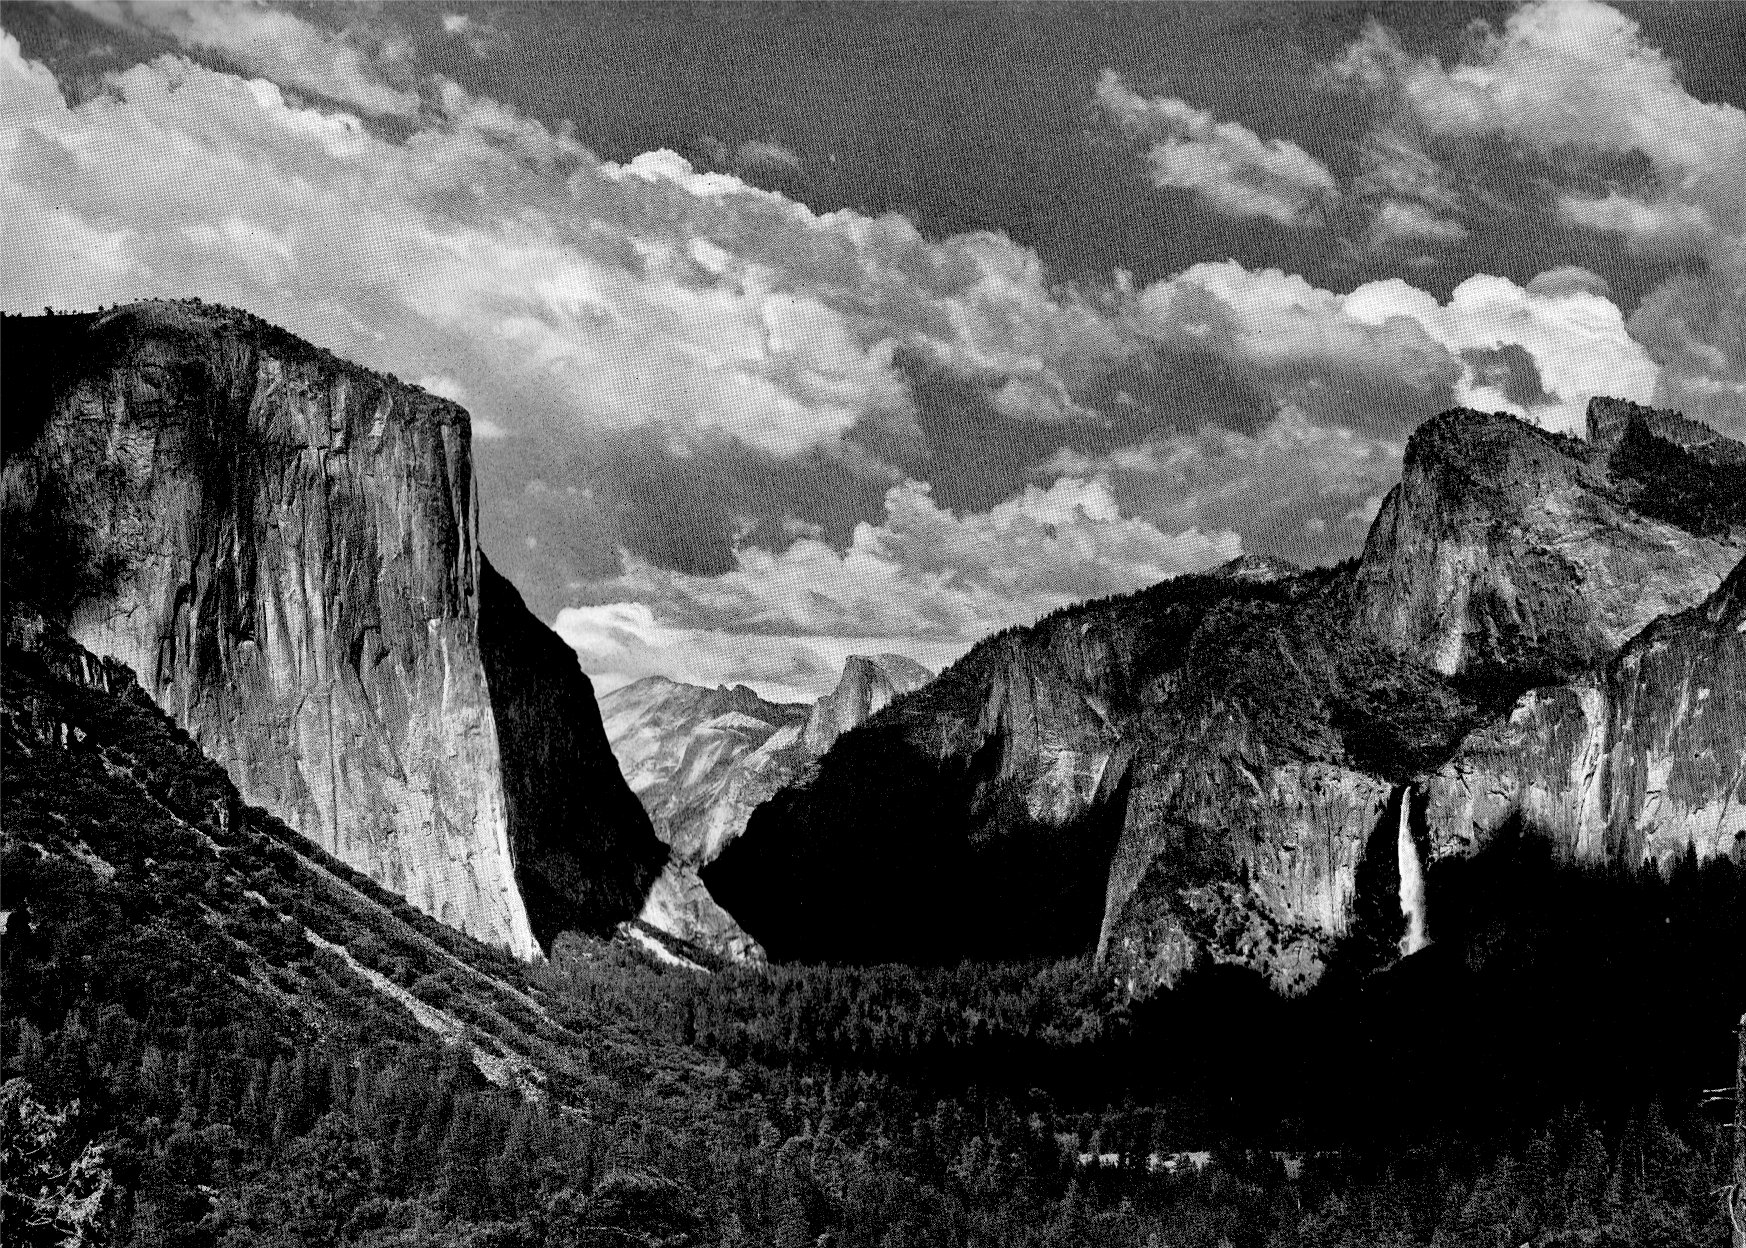
Indeed some of the most successful and well-known landscape photographs are of locations that have been captured time and time again – both by unimpeachable masters and a hundred-thousand cack-handed amateurs alike. What makes Ansel Adams’ vision of Yosemite still stand out today is his mastery of composition and light. The Photographer’s Ephemeris is a tool to help you achieve just such mastery.
In fact, perhaps we should rephrase things: if you’re a landscape photographer then your subject is light. The landscape is just a receptacle for your subject. And if light is your subject then you need to be in control of it.
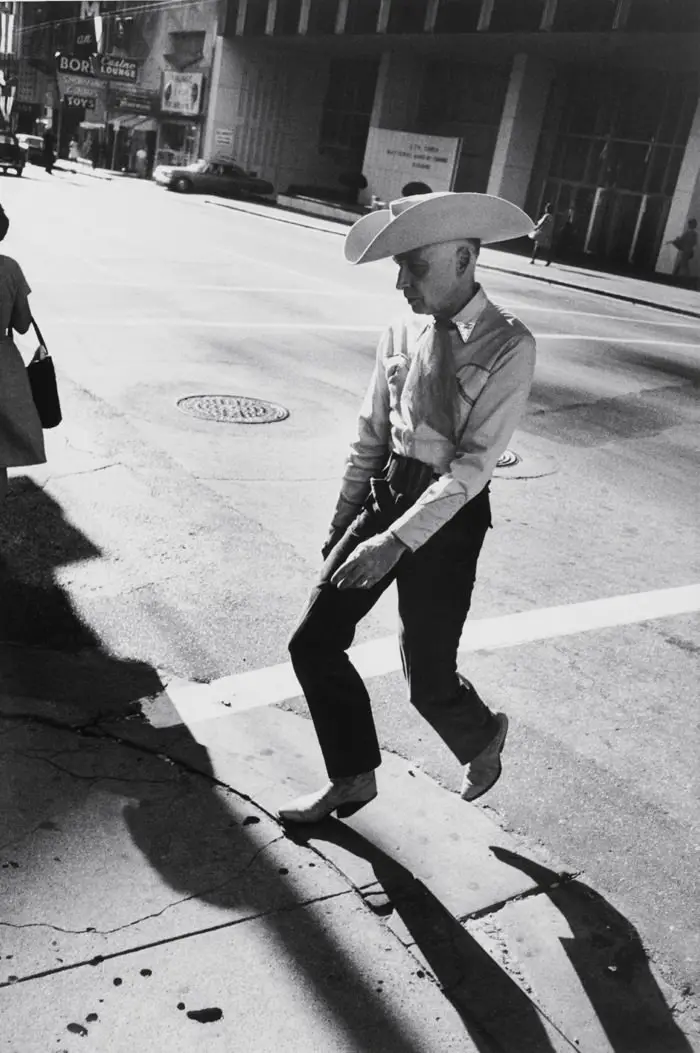
With that said, some of the greatest portraits, street shots and other iconic photographs also draw a significant part of their appeal from the succesful use of light: just think of those classic Garry Winogrand images of the aging Texan cowboy stepping onto the sidewalk, or 3 women at the corner of Vine St. They just wouldn’t have the same impact if it wasn’t for the driving beams of sunshine illuminating the concrete canyons of the North American metropolis and throwing the subjects into relief. In fact, we might well ask whether either of these photographs would have made it any further than Winogrand’s contact sheets if instead he’d rolled up 40 minutes later – shooting the same scene but in total shadow, rather than dramatically backlit as he did.
Given Winogrand’s famously haphazard and frenzied manner of shooting, however, I think we can safely assume that at no point did he ever bother to consult a sun-chart. Nonetheless, this doesn’t mean that you shouldn’t. Certainly there’s little point in descending upon a potentially rewarding street corner only to discover that the last ray of sunlight disappeared over the rooftops a good half an hour earlier just because that’s what Winogrand might’ve done (he also died leaving behind thousands of undeveloped rolls of film he shot of random women out of his car window, you want to try that too?).
Why should you use the photographer’s ephemeris
Needless to say, for anyone hoping to capture light at exactly the height and angle they want it, the ability to pick the right time and day to be in a certain location offers an enormous advantage. Instead of repeatedly having to drag yourself out of bed at obscene hours of the morning in the vain hope of encountering that perfect sunrise, you choose your location, check for the auspicious alignment of “celestial bodies”, and set your alarm. Job done.
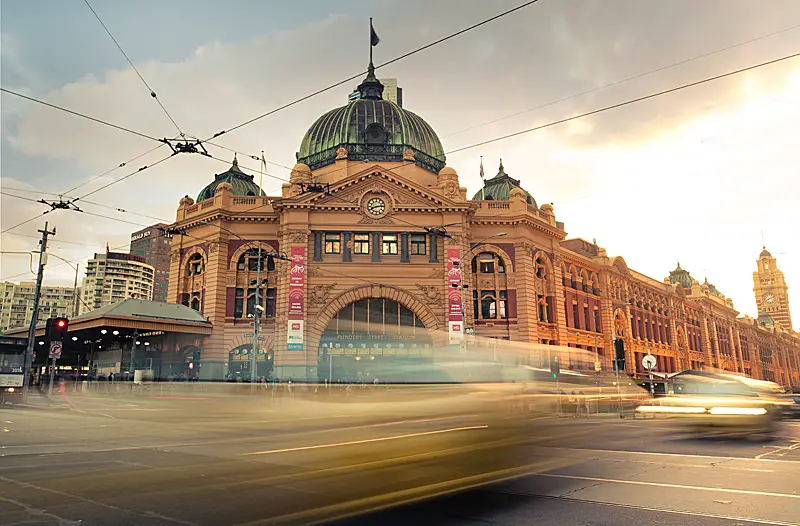
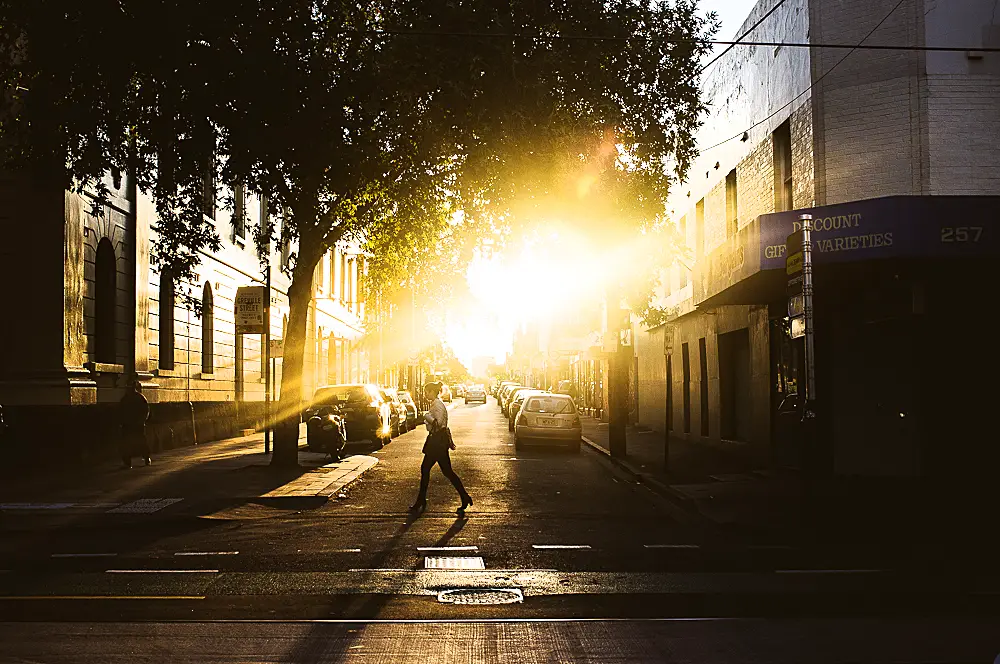
And your somewhat less-than-celestial body likely gained an extra half-hour under the bedcovers. I’ve used it for a few photo shoots including one of the light shining up Flinders Street just before it dips beneath the buildings. Knowing the timing of when the light would be at the right level before it dipped was crucial to getting Flinders Street Station lighting up with that golden hour light that we all love.
Alternatively, you can just keep doing it the way you’ve always done: standing in the middle of nowhere for 60 minutes of subzero twilight waiting for the sun to finally drag itself over a mountaintop, only for the light to totally miss the subject of your photograph when his celestial highness finally does rise anyway because you came way too early in the year.
What the photographer’s ephemeris helps you with
You’ve found the ultimate location, scouted the perfect vantage point, pre-visualised the composition and selected the right lens. All you need now is the weather and the light. Unless you’re that omnipotent dude with the beard and staff, or happen to be with the CIA, then there’s likely not a great deal you can do to control the former. The light, on the other hand, is largely just a matter of careful planning.
Planning your best sunrise and sunset locations
Got a location in mind for a stunning sunrise or sunset shot but want to check that it really is pointing in the direction you think it is? The Photographer’s Ephemeris will save you from a wasted trip. A great feature of the photographer’s ephemeris is that it also allows you to simulate different dates and times which works well for locations where the sun may be rising or setting at a different angle depending on the earth’s axis.
Chasing that keylight and backlight
When it comes to photography there’s really no right or wrong type of lighting, rather there will just be some qualities of light that are more or less appropriate for the particular shot that you’re trying to achieve.
Many, if not all, serious photographers often have a preconceived idea of what they want an image to look like long before they get anywhere near to shooting it. This will frequently include plans regarding lighting. Clearly, if you’re this meticulous about the light in your photographs, and have a set idea in mind, you absolutely do not want to spend time and energy trekking off into some remote wilderness only to discover that nobody called the sun to inform it of your plans ahead of time. For this reason, The Ephemeris can be indispensable.
Indirect light
While missing the light can be a real disappointment, finding a scene speckled with stray sunbeams when you were hoping for a flat, contrast-free location in which to shoot can prove equally frustrating. Indeed, predicting precisely where the sun will hit is one thing, but sometimes you may want to avoid direct sun shining on the subject altogether – but still with a beautiful glow of soft yet directional light reflecting in from the sky.

Just waiting for dusk to fall will not produce the same effect, so you’ll need to identify a point at which your location will succumb to the shadows caused by obstructions such as mountains or buildings, yet before the sun goes down. Indeed, The Ephemeris is probably just as valuable for its ability to show which areas of a locality will be without light as it is for indicating those with.
[box type=”info” size=”large” style=”rounded”]Knowing when the light will be dim works wonders for waterfall photography. My guide on waterfall photography goes hand in hand with this guide to capturing the best light[/box]
Using the photographers ephemeris
I know what some of you are thinking: “What do I need this for when I have a compass on my phone and Google Maps clearly shows where north is? The sun rises in the east and sets in the west. Easy!”
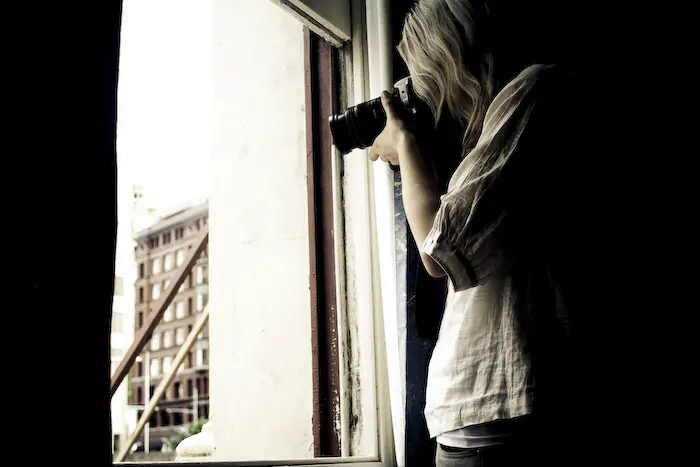
Sure, assuming you only need to gain a rough sense of where the sun will be positioned, your compass or map will do the job just fine. But there are many situations where the success of a shot will depend upon the light hitting a precise feature within the landscape, and at a particular angle. Without even getting into complex shots of incredible natural phenomena, lets just look at a very banal, easy to understand example: someone standing at a window with a nice backlight.
[box type=”info” style=”rounded”]Interested in landscape photography? My complete guide to landscape photography equipment and technique has you covered![/box]
Let’s pretend for a moment it’s April where ever you are in the world when you first spot the location. Inside, the room is exactly what you were looking for. Outside, the view is even better than you’d dreamed of. It’s perfect in every way.
Or at least it would be if it wasn’t for the fact that the building opposite blocks all sunlight from entering the room and illuminating your model, and there’s no sign that this situation will change later in the day.
Checking on the The Photographer’s Ephemeris, however, you can see that it would be worth coming back to shoot in late May, as by then the sun’s path will be sufficiently high to clear the building opposite and beam down through the window for over an hour each morning, allowing you to get the photo you wanted. Conversely, you can see that if you leave it until June before returning to shoot, the sun will already be too high in the sky and only briefly enter a few inches into the room before passing directly overhead.
Now imagine that you’ve seen some spectacular limestone rock formations, with holes in, allowing a view across the plains to a mountain peak. You have the idea to line up the sun, the peak and the holes. But is it possible? The Ephemeris knows.
How Does It Work?

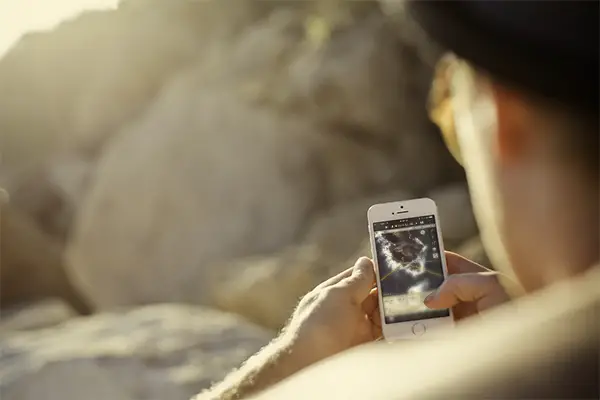
Begin by choosing a style of map suitable for your subject (i.e. either regular Map, Satellite/Hybrid or Terrain). Now search for a destination you’re interested in shooting and drop a red pin right on your location. This screen gives you the ability to simulate where the sun will be at a given time, objects that may get in the way (i.e. a large rock stack) or even show you the shadow length that an object like a large rock stack may create.
The Photographer’s Ephemeris is a powerful tool and I must profess that I’m only covering off the very basics in this post. The tool is capable of a lot more including a night mode which allows you to track the milky way and integrates with Skyfire which gives you sunrise and sunset forecasts to help you in finding the best location to photograph the sunrise or sunset. How good is that?! Rather than complicate this post, I’m going to cover off the basics with the next few points.
Bookmarking your favourite locations
Locations can be bookmarked, so you can come back to them later: for example, as you’re sitting down for lunch planning your shoot for the afternoon you can quickly recall your saved location and check for the ideal date and time to shoot. If it’s not looking the right light, just keep scrolling through your list until you find somewhere that will be ideal based on the conditions of the day.
Simulating the sun at different times of the year
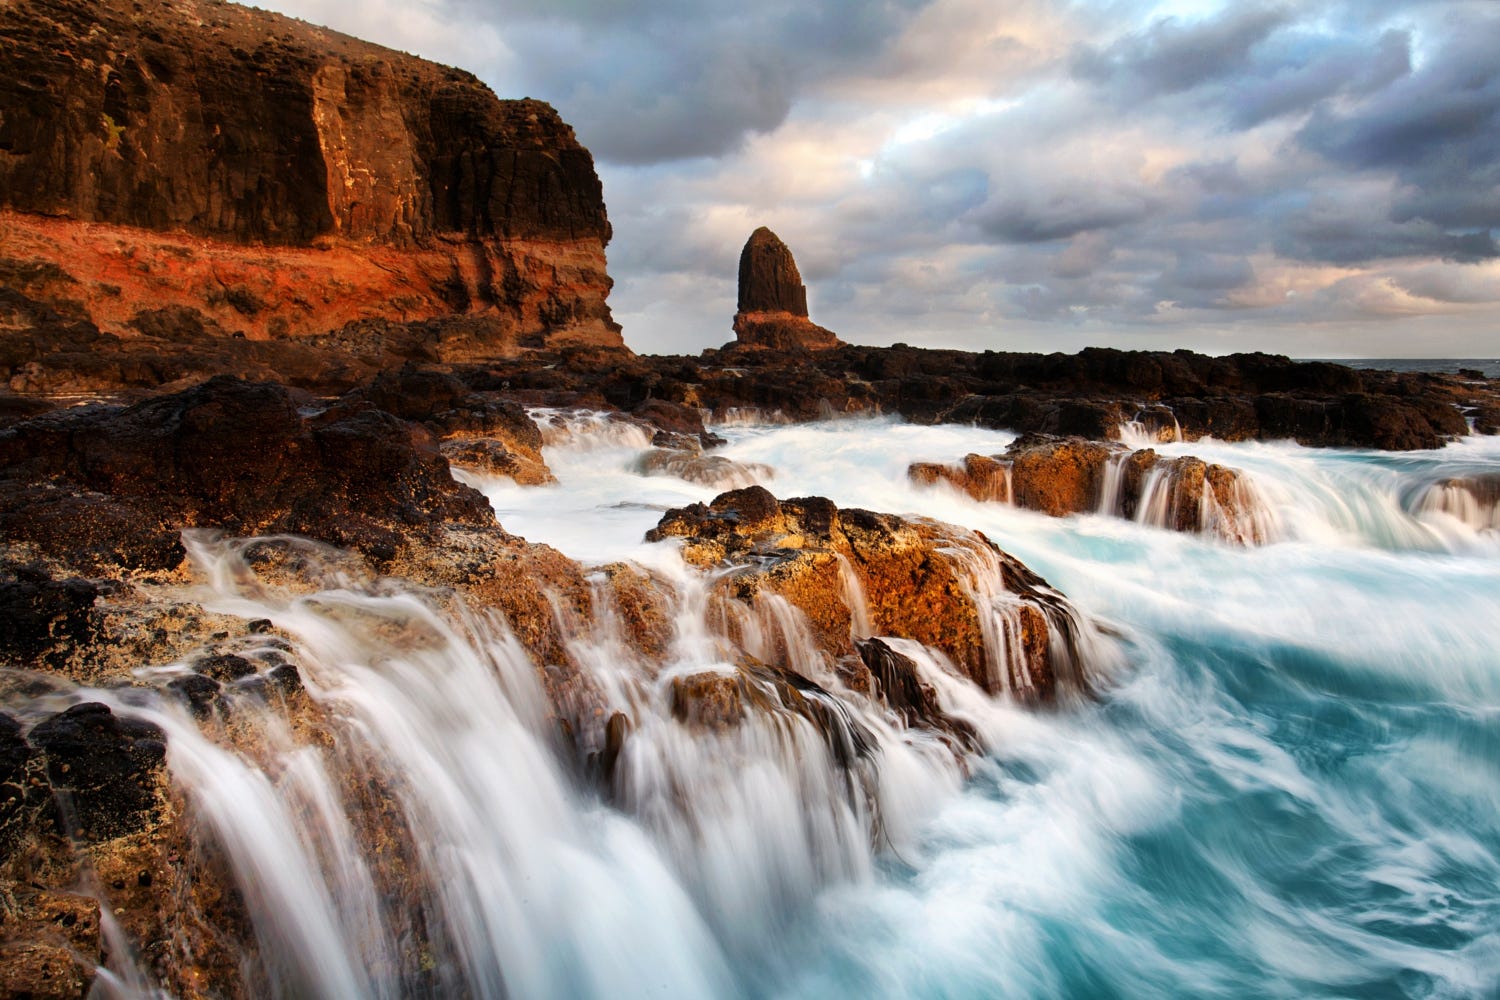
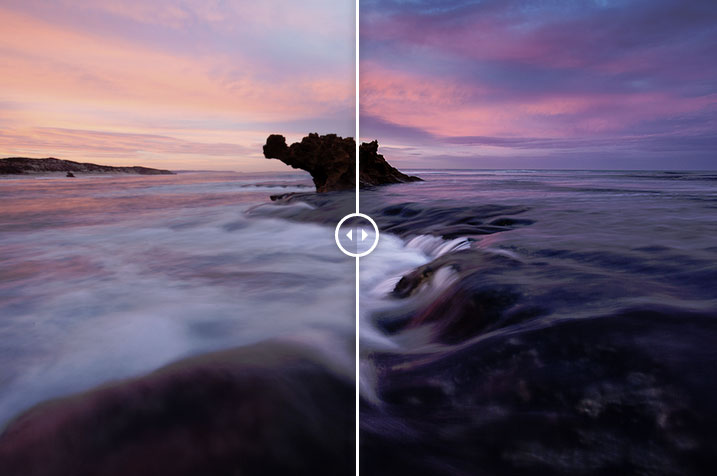
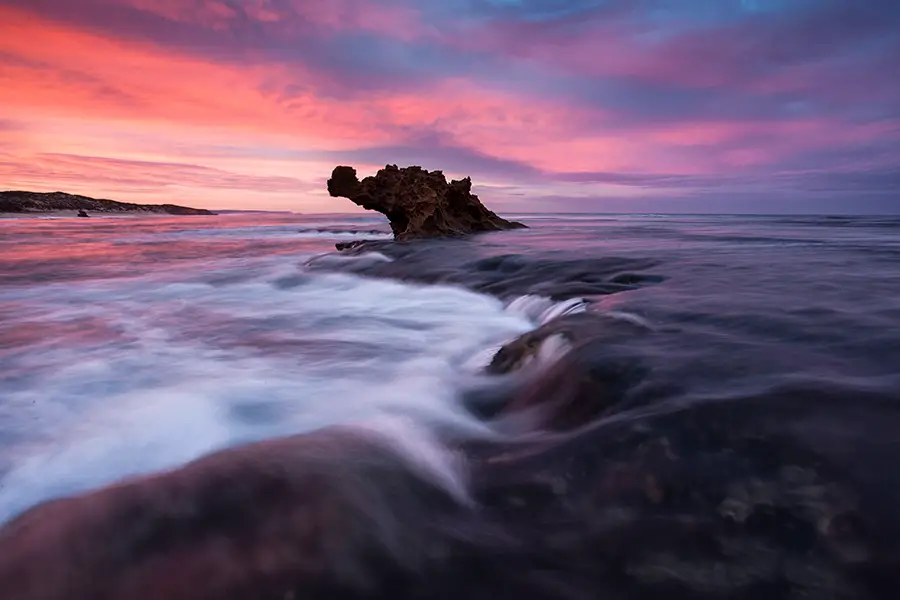
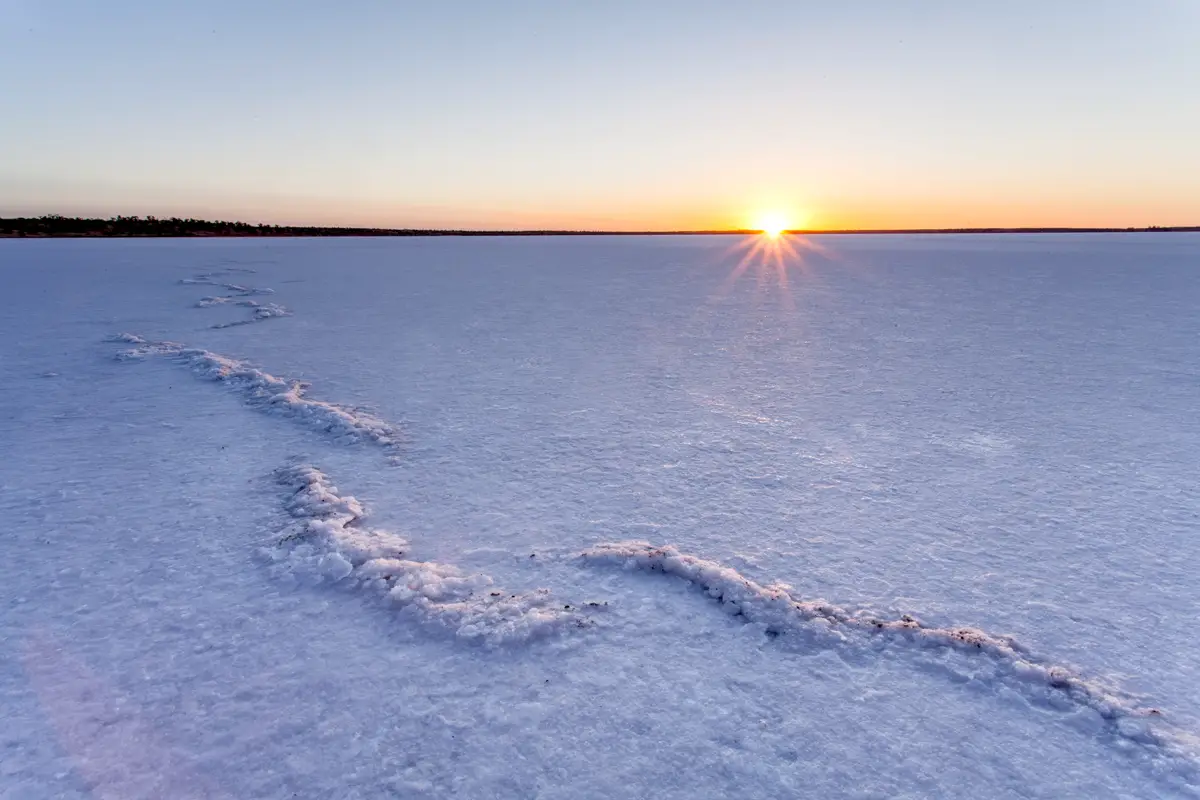
Choose a date from the calendar and then scroll across the timeline in order to see the trajectory and angle of light on your location at any particular moment during the day (or indeed night). This feature works well for photographing locations like my photo from Cape Schanck to the right. It was important to get the golden hour light shining on the rocks at the right angle. If I were to have photographed this at other times of the year, I would have had a harsh shadow of myself appearing in the frame. No one wants to see my ugly shadow in the frame 😉
Planning for obstructions that may block your light
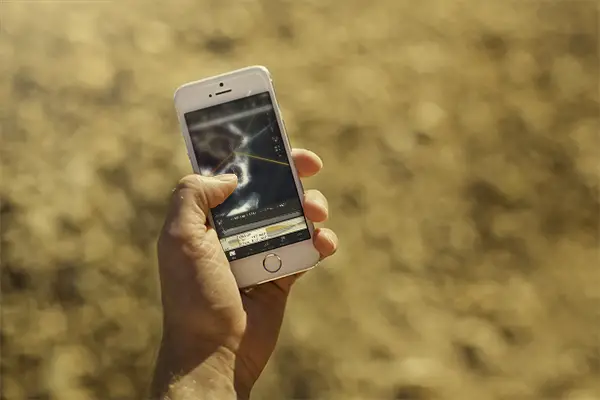
Dropping a second, gray, pin displays geodetic data (i.e. info about the shape of the land, elevation etc.). This feature is extremely handy, as it allows you to work out if, say, a mountain or other geographical feature might potentially block the sun from illuminating your location for a further period of time after the sun has already risen and is shining everywhere else.
Once again, if you enjoy shooting in diffused light, The Ephemeris will allow you to plot the ideal time to start or finish work at a shortlisted location, before unwanted rays of strong direct sunlight start creeping into the shot. Move the timeline to see where shadows will fall, and from which angle, at any given time of day.
Given the relative difficulty of estimating for yourself just how quickly shadows will grow or begin to disappear, perhaps the most important feature here is the app’s ability to display how long or short shadows will be at any particular moment. For example, if you’re a shooter that is looking to use the shadows to your advantage with a scene then having this feature can be a great one to have. Occasionally I will use it for my photography to help understand when the light will even out and give a flat exposure to my camera.
[box type=”info” size=”large” style=”rounded”]Interested in getting into long exposure photography but stuck for ideas? Give my long exposure photography ideas post a read![/box]
Closing out
The Photographer’s Ephemeris is a great time-saving tool for photographers across the board. While it will be particularly useful for those who shoot landscapes, it can also come in handy for photographers working in many other areas too.
While not a critical tool that every photographer must use, it is definitely one which photographers should know about and have up their sleeve. I’ve found it particularly useful when planning to photograph a location I’ve not visited before and looking to ensure I make the most of my time there. A great example of this was from a recent trip driving from Melbourne to Perth where we were visiting locations for the first time and was looking to ensure we were maximising our sunrise and sunset locations.
Indeed, for anyone planning a complex shot that relies upon precise natural lighting conditions, The Ephemeris will likely prove indispensable. By dropping a pin at your intended location you can quickly establish whether it offers the kind of light you’re looking for when you need it. If not, it’ll either be a case of choosing another date and time, or opting for a different location entirely. Either way, with The Photographer’s Ephemeris you can be sure that there will be no nasty last-minute surprises when planning a shot.
If nothing else, unless you’re a chronic insomniac, an amphetamine addict or a parent of small children (in which case sleep is anyway but a distant memory), you will likely appreciate the ability to set your alarm at a more convenient hour when shooting at sunrise.
Hope this guide has been useful! If you have any queries, please don’t hesitate to reach out and drop a line. Always happy to help!
Visit The Photographer’s Ephemeris to download the desktop or mobile app and learn more.