[twentytwenty]
[/twentytwenty]
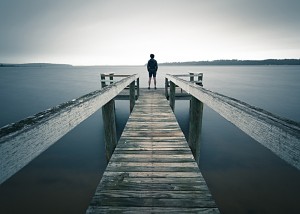
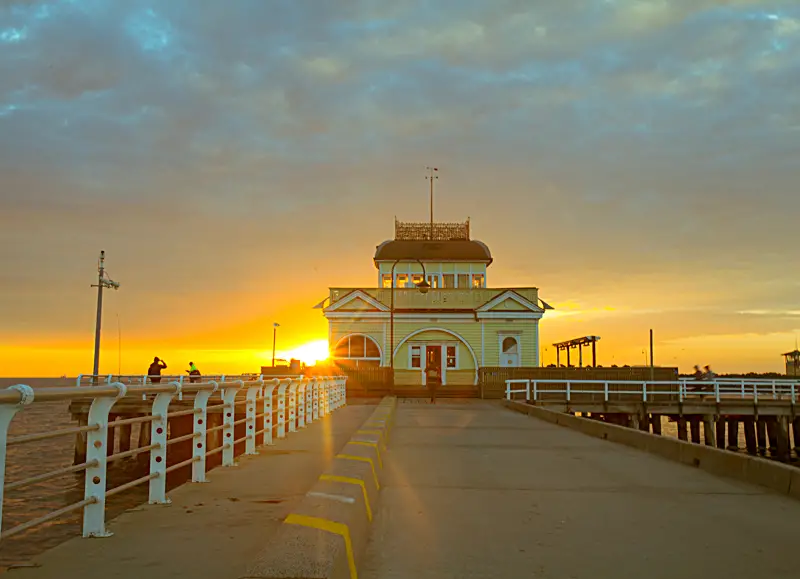
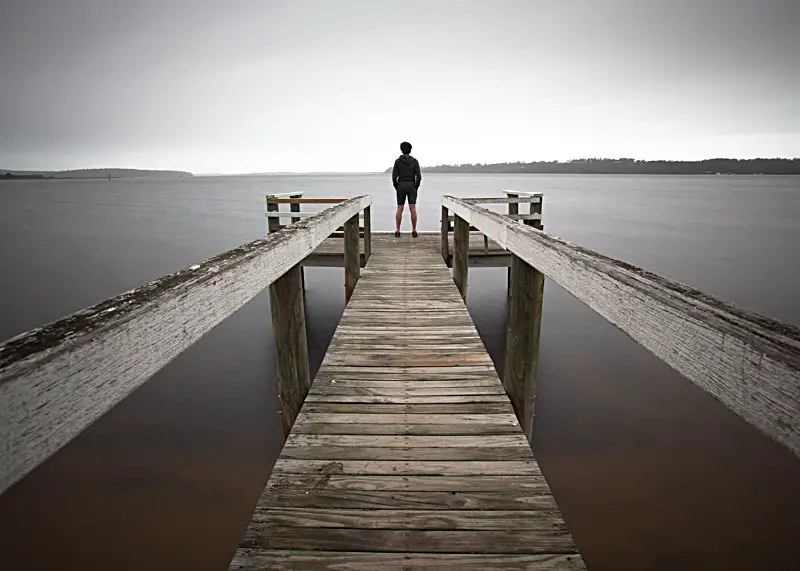
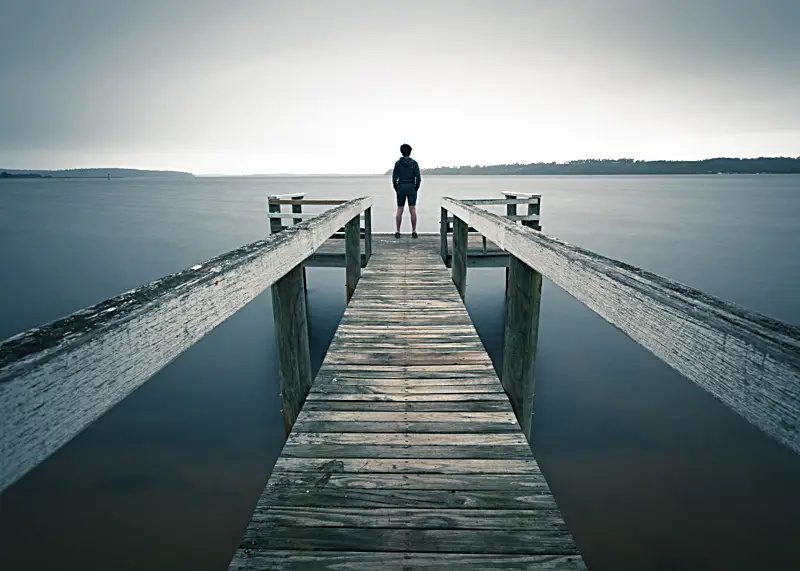
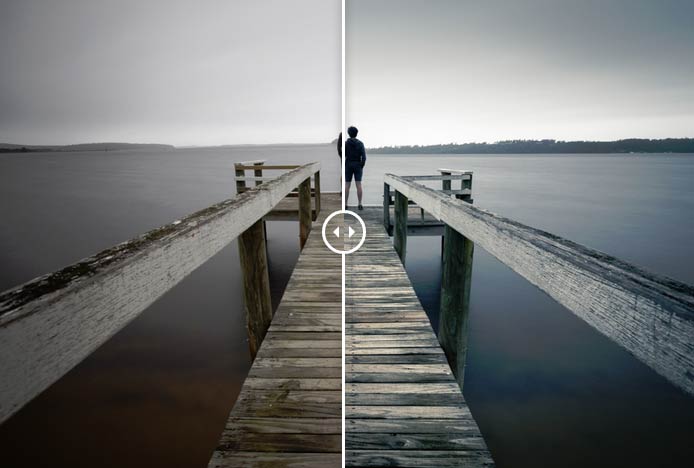
Before and After – St Helen’s Self Portrait
This is quite an old photo taken back in December 2010 at one of my favourite places in Tasmania, St Helens. A place I spent a lot of time as a kid and close to the beautiful Bay of Fires. St Helens is a beautiful part of the state and if you’re ever visiting, I’d put it high up in the list of places to go. It has some beautiful waterfalls, seascapes and is just a great little town.
This photograph was edited using just Adobe Lightroom. Occasionally I’ll edit 70% of my image in Lightroom and then do some remaining changes (curves, colour correction and sharpening) in Photoshop but for this image it was all Lightroom. I really love how far Lightroom has come. Originally when it was first released I was reluctant but it has made so much progress in recent years and reduces Photoshop from my workflow less and less as new releases come about. I’m excited by what is yet to come.
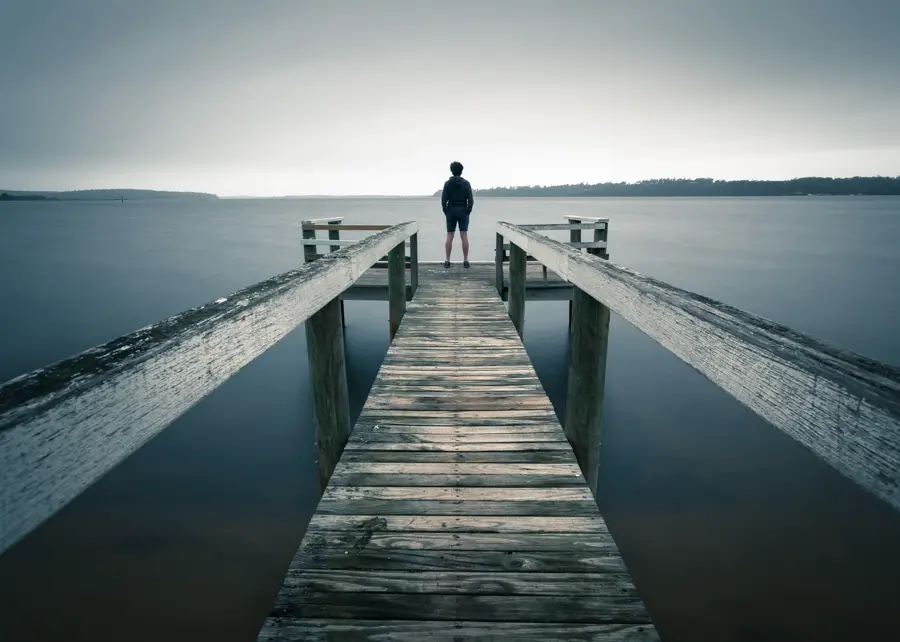
Capturing the Image
The photo was captured during the day with a 50 second exposure at F/8 using a Canon 5d Mark II, Canon 17-40, Cokin Z-Pro graduated neutral density filter, B+W 110 ND, tripod and control. In case you’re not familiar with day time long exposures, I’ve got a small post on my blog about daytime long exposures which goes into detail on how it works and the equipment needed. I love the way long exposures can transform a scene by smoothening the water or clouds of a scene.
For this image, I used a neutral density filter and graduated neutral density filter (for the sky) to smoothen the water and clouds to give a minimalist feel.The clouds were quite patchy and thanks to the wind, I was able to use the long exposure to subtly blur them and give them this look.
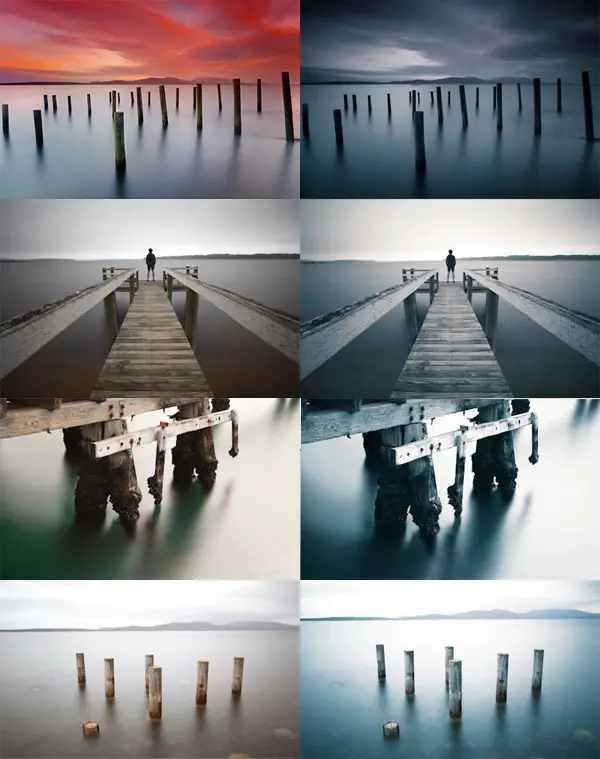
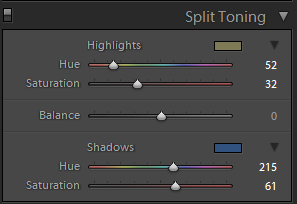
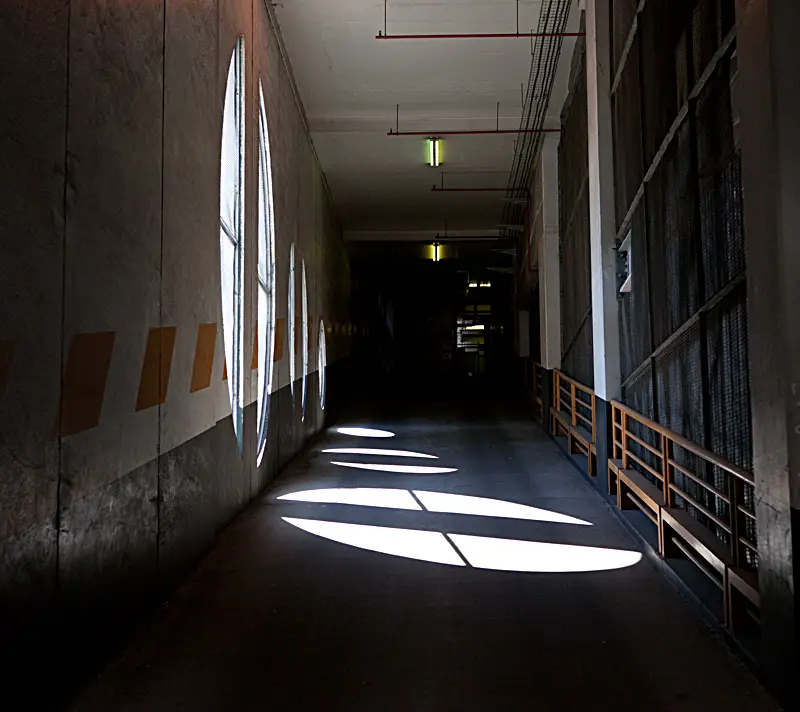
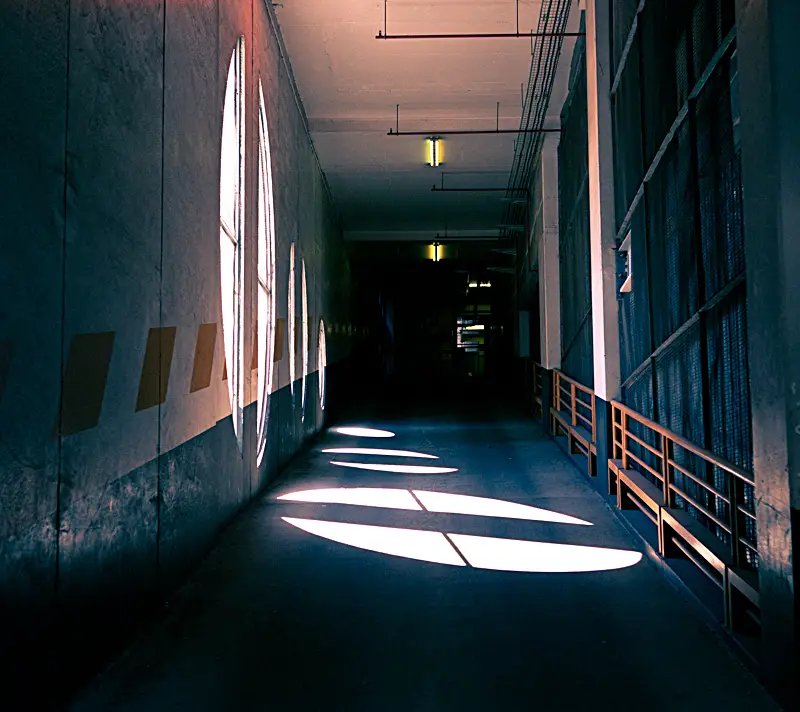
Post Processing

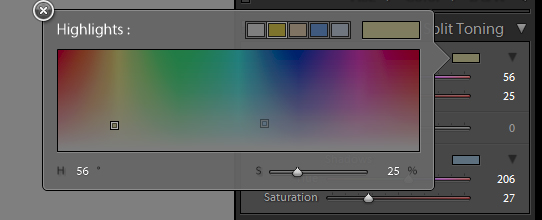
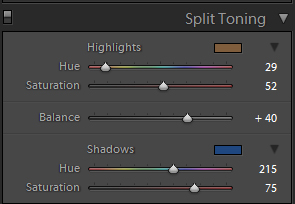
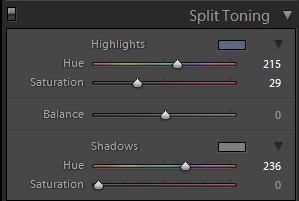
Post processing this image was heavily geared around playing with the split toning feature of Adobe Lightroom to introduce a cold feel to the image. I went into quite a bit of detail in an earlier post about Lightroom’s Split Toning which may be of interest to those not familiar with it. Through using the split toning feature, you are able to introduce a tone to either your shadows or highlights. It’s really handy and I’ll often use it to add a subtle hint of a colour to either my shadows or highlights. Often I’ll add a very subtle yellow/orange to my highlights to give a warmer feel to the image.
Once the split toning was applied, I made some subtle adjustments to curves, boosting the shadows ever slightly, adjusting the saturation and clarity of the image.
And that is how my self portrait at St Helen’s was captured and post processed. I hope this post was useful 🙂
As always If you have any questions or comments feel free to leave a comment or drop an email. Always happy to help or chat 🙂
– Alex