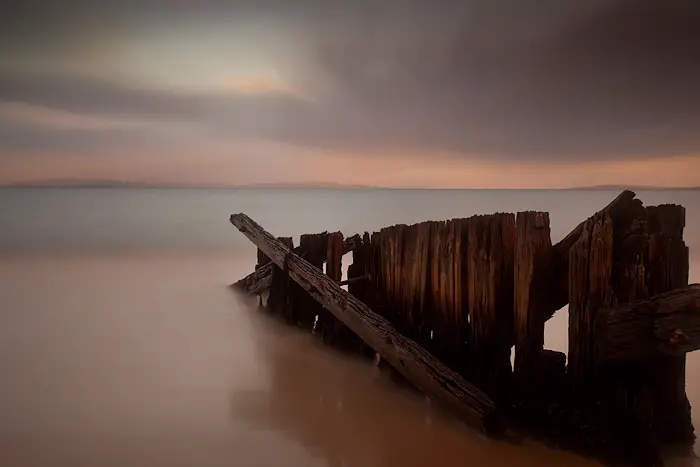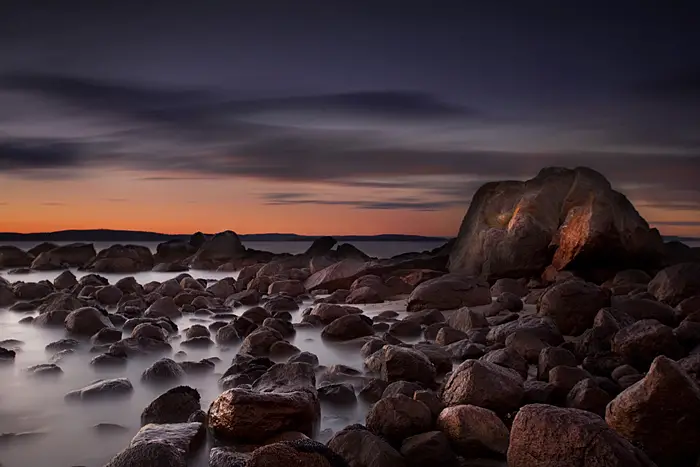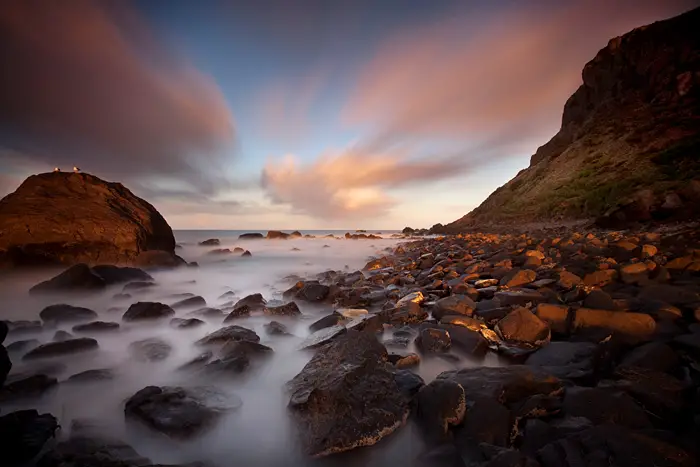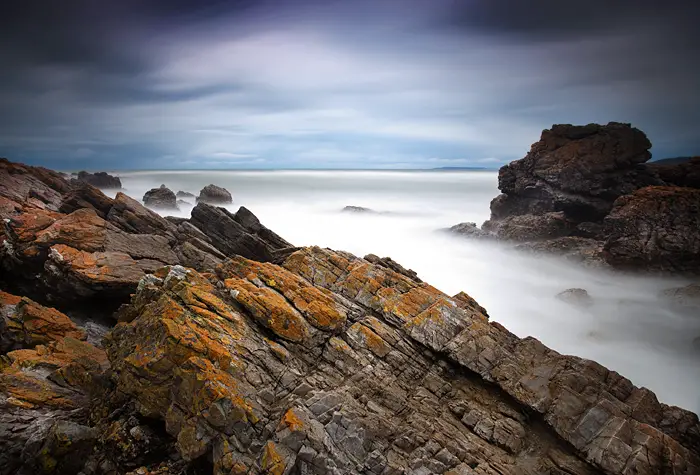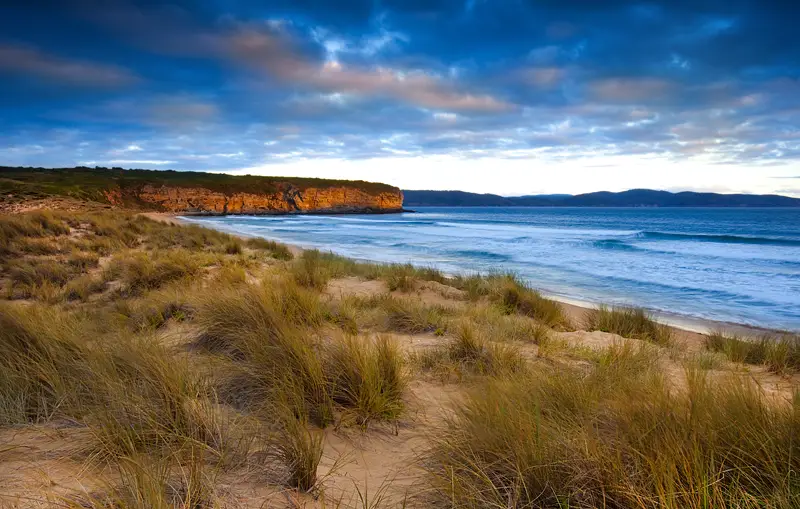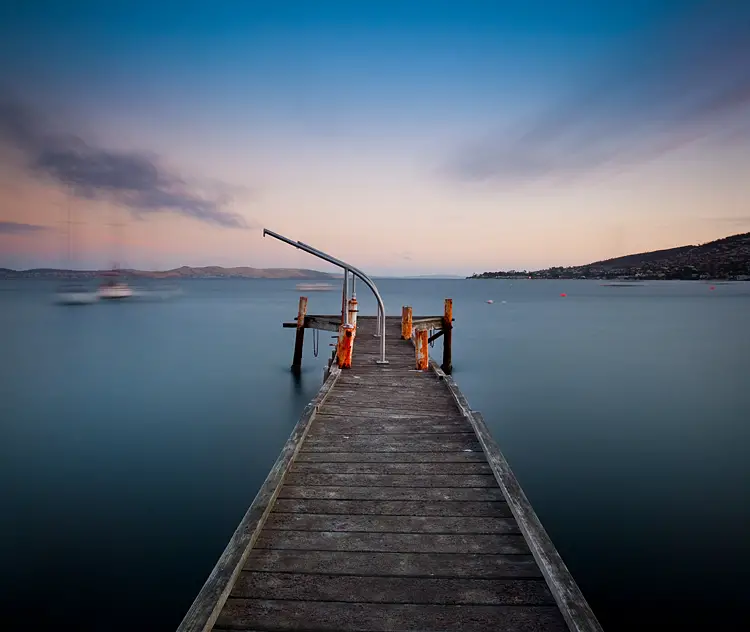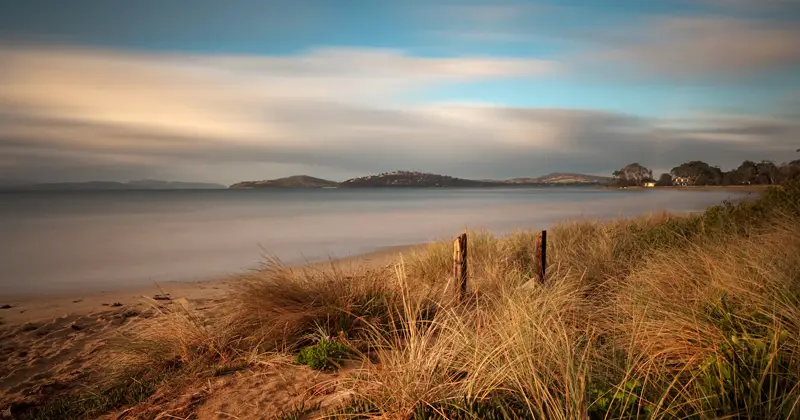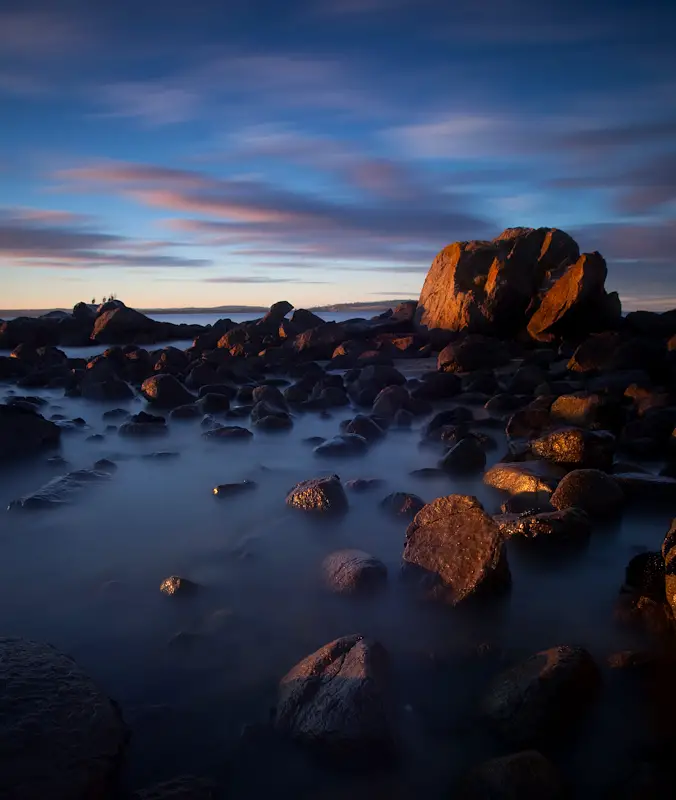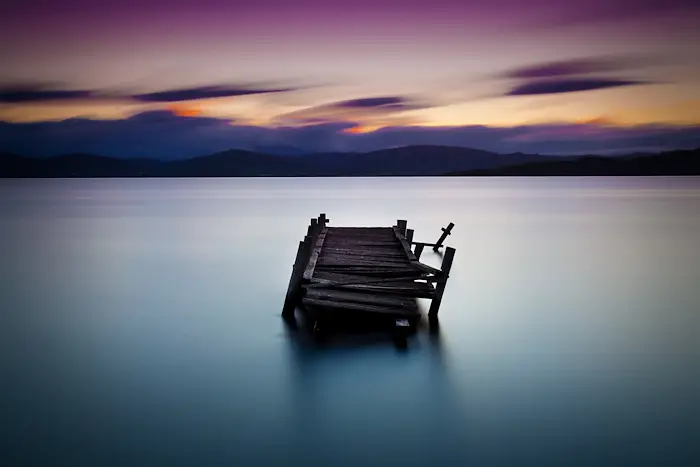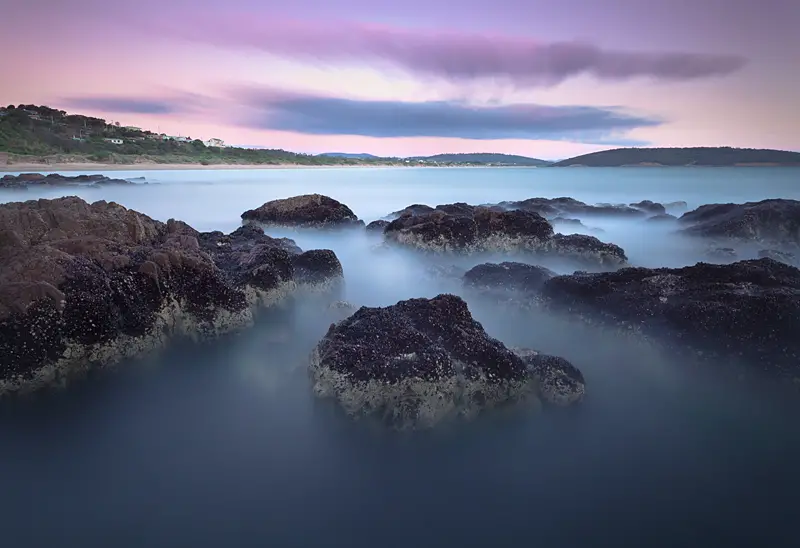
A photograph from my recent trip home to Tasmania for Christmas. This long exposure photograph was captured at Park Beach, Tasmania just after sunset. This is one of my favourite coastlines to photograph in the Hobart area even if it is quite limited on sunset. Unfortunately you’re limited to shooting in this direction if you wish to capture any colour in the sky, ignoring all the interesting rock formation that faces the opposite direction.
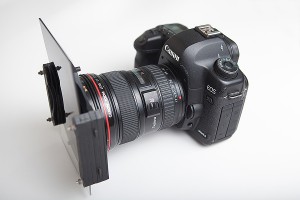
This is a 10 minute long exposure that was captured with a Canon 5D Mark II, Canon 17-40, B+W 110 and tripod.
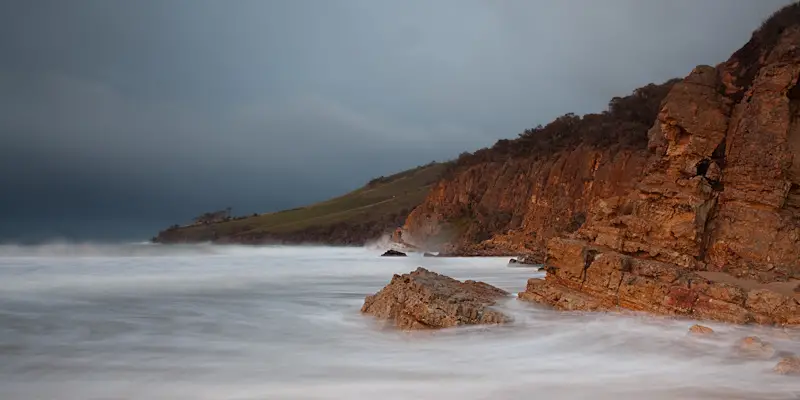
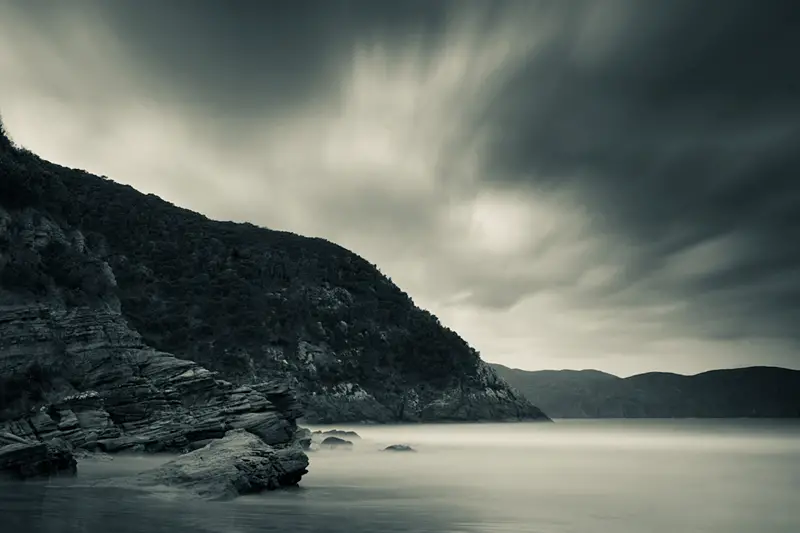
Before and After
And for something different, this is the before and after images from Lightroom. The image is around a stop over exposed which was both good and bad. The reason for it being good is that it brought out a lot of detail in the dark area of the rocks which can easily be lost in a regular exposure due to the area having strong shadows. But on the other hand, I also lost a lot of sky straight out of camera. Fortunately the Canon 5D Mark II retains a lot of detail and I was able to save the sky.
The edit was actually quick and probably only took around 2 minutes. In Lightroom I dropped the exposure considerably which brought back the sky but darkened the rocks. Rather than keep the rocks under exposed, I used the adjustment brush with a +1.00 exposure to bring the rocks back out. After that I adjusted the temperature of the image (cooling it) and selectively adjusting the saturation points of parts of the image until happy. Finally sharpening the image in Photoshop with the unsharpen mask.
Update 10/06/2012 – I’ve since created a tutorial video on how I went about editing this photograph. Granted the final image doesn’t come out exactly the same as the image used in this post but it should give you a good idea of how the I went from the before shot above to the final image. The key things to note is the graduated filter and adjustment brush make all the difference and allow you to make the majority of your edits without needing to open up Photoshop. Be careful though. It’s easy to over do the editing when using these tools and I think the final image is starting to reach that.